
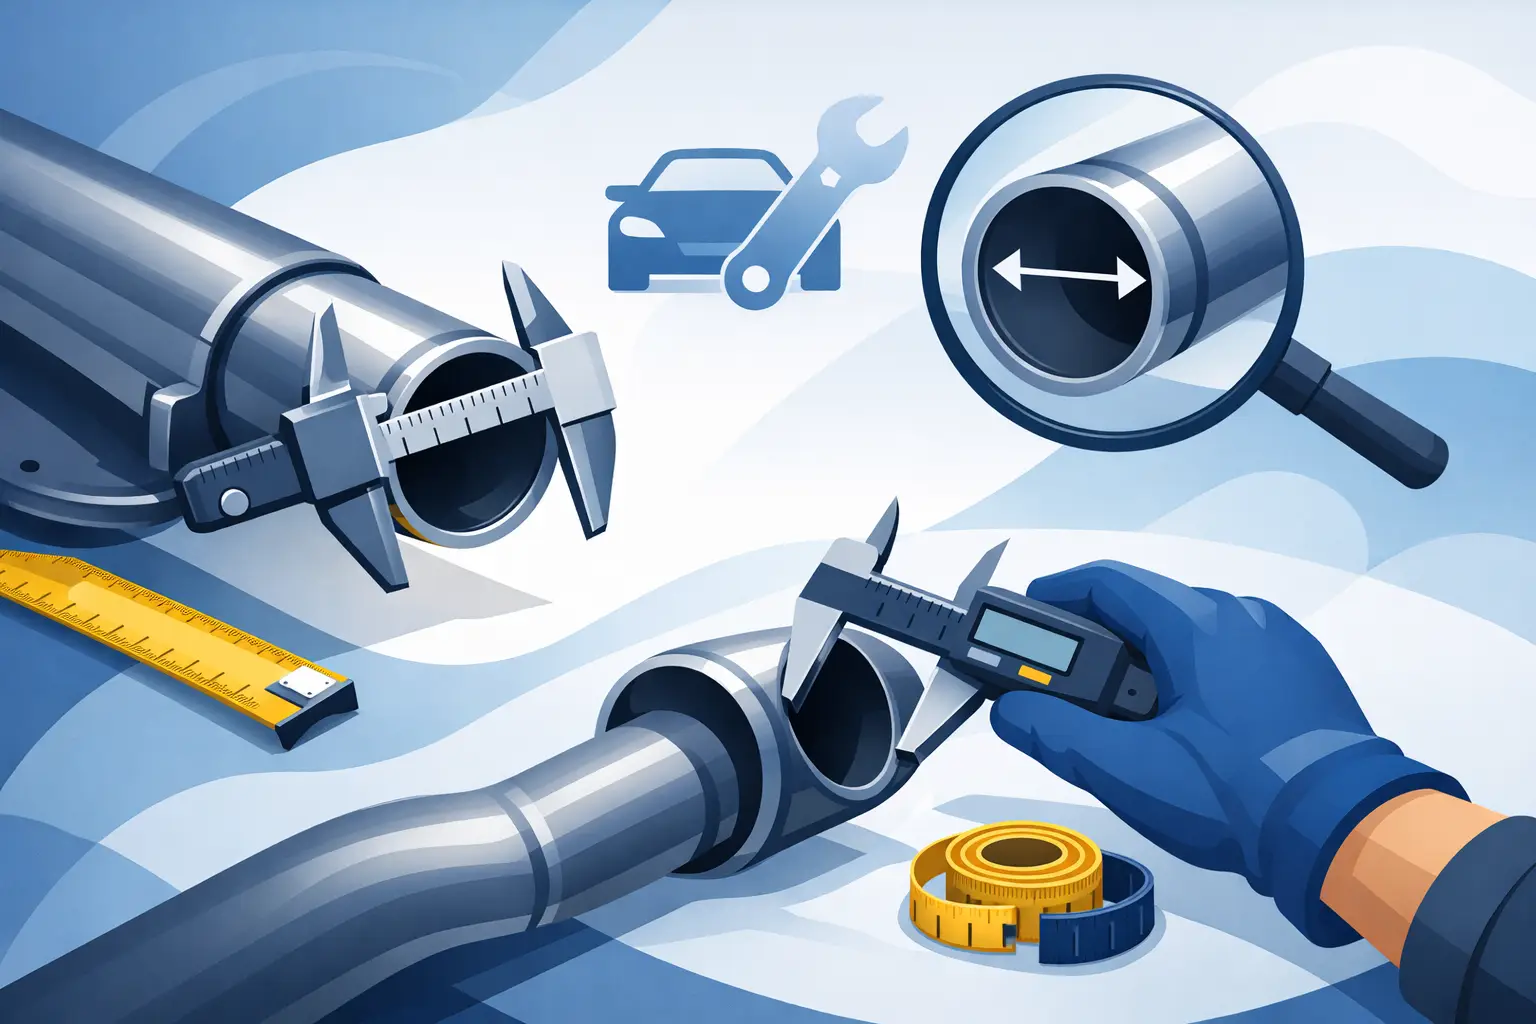
A replacement exhaust pipe that is off by even 1/8 inch can turn a simple install into cutting, clamping, leaks, and returns. Knowing how to measure exhaust pipe correctly lets you order with confidence, whether you are repairing a rusted section, fitting a new muffler tip, or building a cleaner custom system.
The key is to measure the connection you actually have, not the size you assume your vehicle uses. Exhaust systems often include expanded ends, reducers, adapters, and slip-fit joints, so the pipe diameter may change from one section to the next.
Start With the Measurement That Matters
Before measuring, identify what part you are fitting. A straight replacement pipe, a muffler inlet, a resonator, an exhaust tip, and a clamp can all use different sizing conventions. Most exhaust components are sold by diameter in inches, but that stated diameter may refer to the inside diameter, outside diameter, or a matching pipe size.
For a pipe that will slide over another pipe, measure the outside diameter of the pipe being covered. The receiving pipe or inlet needs an inside diameter that is slightly larger. For a pipe that slides inside a muffler, resonator, or expanded section, measure the inside diameter of the opening and match it to the outside diameter of the inserted pipe.
This sounds basic, but it prevents the most common ordering error: buying two parts with the same stated diameter when both are designed as outside-diameter connections. Two 2.5-inch outside-diameter pipes will not slip together without an expanded end, a coupler, or an adapter.
Tools for Measuring an Exhaust Pipe
A digital caliper gives the most accurate result and is the best option when fitment is tight. Open the jaws across the outside of the pipe for an OD measurement, or use the smaller inside jaws to measure the opening of a muffler inlet or expanded pipe end.
A tape measure works for a quick check, especially on larger truck and SUV exhaust tubing. Place it straight across the widest point of the pipe opening. Do not measure around the pipe unless you plan to convert circumference to diameter.
If access is limited, wrap a flexible tape measure, string, or strip of paper around the pipe. Mark the overlap, measure that circumference, then divide by 3.1416. For example, a circumference of about 7.85 inches equals a 2.5-inch diameter. This method is useful under the vehicle, although rust, heat shields, and uneven pipe surfaces can reduce accuracy.
Measure only after the exhaust is fully cool. Support the vehicle securely on level ground if you need access underneath. Never rely on a jack alone, and keep clear of sharp exhaust edges, especially around cut or corroded tubing.
How to Measure Exhaust Pipe Diameter
Clean the measuring area first. Surface rust, old exhaust paste, clamp marks, and dirt can add enough material to distort a close measurement. A wire brush or shop rag is usually all you need.
Then measure the pipe at a straight, round section away from the end. Do not take your primary measurement directly at a crushed clamp area, a flared joint, or a bend. Those locations can be out of round and may not represent the actual tubing size.
Measuring Outside Diameter
Outside diameter, commonly called OD, is the distance across the exterior of the tube. This is the number to use when you are choosing a slip-on muffler, a coupler, an exhaust clamp, or a tip that fits over existing pipe.
Place the caliper jaws across the pipe and take two or three readings, rotating the tool slightly between measurements. If the readings vary, use the largest reading for a part that must slide over the pipe. A slightly oval pipe may need to be reshaped or cut back to a cleaner section before installation.
Measuring Inside Diameter
Inside diameter, or ID, is the open space inside a pipe or inlet. This measurement matters when a pipe needs to insert into another component. Use the inside jaws of a caliper at the opening, taking care not to measure a rolled edge or a buildup of rust.
A 2.5-inch ID muffler inlet is intended to accept approximately 2.5-inch OD tubing. Depending on the manufacturer and construction, the actual opening can be slightly larger to allow assembly. That clearance is normal. The clamp style, weld method, and use of exhaust sealant determine how the joint is finished.
Know the Difference Between Nominal and Actual Size
Exhaust tubing is usually identified by a nominal size such as 2.25, 2.5, 3, or 3.5 inches. In quality exhaust components, the actual measurement should be very close to that stated size, but it is still smart to verify. Factory systems may use metric dimensions, formed tubing, or unusual intermediate sizes.
If your reading falls between common sizes, do not round up automatically. Measure again at a clean section and confirm whether you are reading ID or OD. A reducer may be the correct solution, particularly when joining an aftermarket muffler or tip to an original equipment pipe.
Measure Length, Bends, and Connection Style
Diameter alone does not guarantee a usable replacement. For a straight section, measure the overall length from end to end and note how much straight tubing is available for each connection. A clamp needs enough straight surface to seal properly. If the pipe must slide into a muffler or coupler, account for insertion depth rather than measuring only the exposed length.
For a bent pipe, follow the centerline of the tube with a flexible tape or string. Measuring directly from one end to the other gives a shorter straight-line distance and will not tell you how much material the bend requires. Note the bend angle, the approximate radius, and the direction the pipe turns.
Also record the connection style at both ends. One end may be expanded, while the other has a smaller slip-fit outlet. Some components use flanges, ball-and-socket joints, V-band connections, or welded hangers. A pipe with the right diameter but the wrong end configuration can still require fabrication.
When replacing a visible tailpipe section or installing a new tip, check clearance around the bumper, spare tire, suspension, and hitch. The visual result matters, but so does movement. Exhaust systems shift as the engine moves and expand as temperatures rise, so leave room for normal operation.
Common Sizing Mistakes to Avoid
The first mistake is measuring the outside of a flared end and assuming that number is the pipe size. An expanded outlet is intentionally larger than the pipe it receives. Move back several inches and measure the base tubing.
The second is using the old clamp as a sizing reference. Clamps can deform tubing, and their labeled range may cover more than one size. Measure the pipe itself, then select a clamp designed for that connection type and diameter.
The third is ignoring wall thickness. This becomes relevant when you are matching ID and OD across different materials. Stainless steel and aluminized steel pipes can have different wall thicknesses, meaning a pipe with a specific OD will not always share the same ID as another tube of similar construction.
Finally, do not treat a muffler tip as a universal accessory. Measure the tailpipe OD where the tip will mount, check the tip inlet ID, and confirm its body length and outlet dimensions suit the available space. A well-proportioned stainless steel or carbon fiber tip can sharpen the rear view of a vehicle, but only if it fits securely and clears the bumper.
Write Down Your Results Before You Order
A few notes prevent repeated trips under the vehicle. Record the pipe OD and ID where relevant, overall length, straight-section length, bend direction, connection type, and available clearance. Add a photo with a tape measure in frame if you are comparing several sections or ordering for a shop customer.
For custom work, it also helps to list every component in order from front to rear: adapter, pipe, resonator, muffler, tailpipe, and tip. This makes diameter changes obvious before parts arrive. It is especially useful on trucks, Jeeps, and SUVs, where longer routing and suspension travel add more fitment variables.
A precise measurement is not just a technical detail. It is what turns an exhaust upgrade from a compromise into a clean, durable fit. Choose the material, finish, and sound you want, then let the numbers guide the parts selection. That is where practical engineering meets the FORTLUFT idea of technology as an art form.