
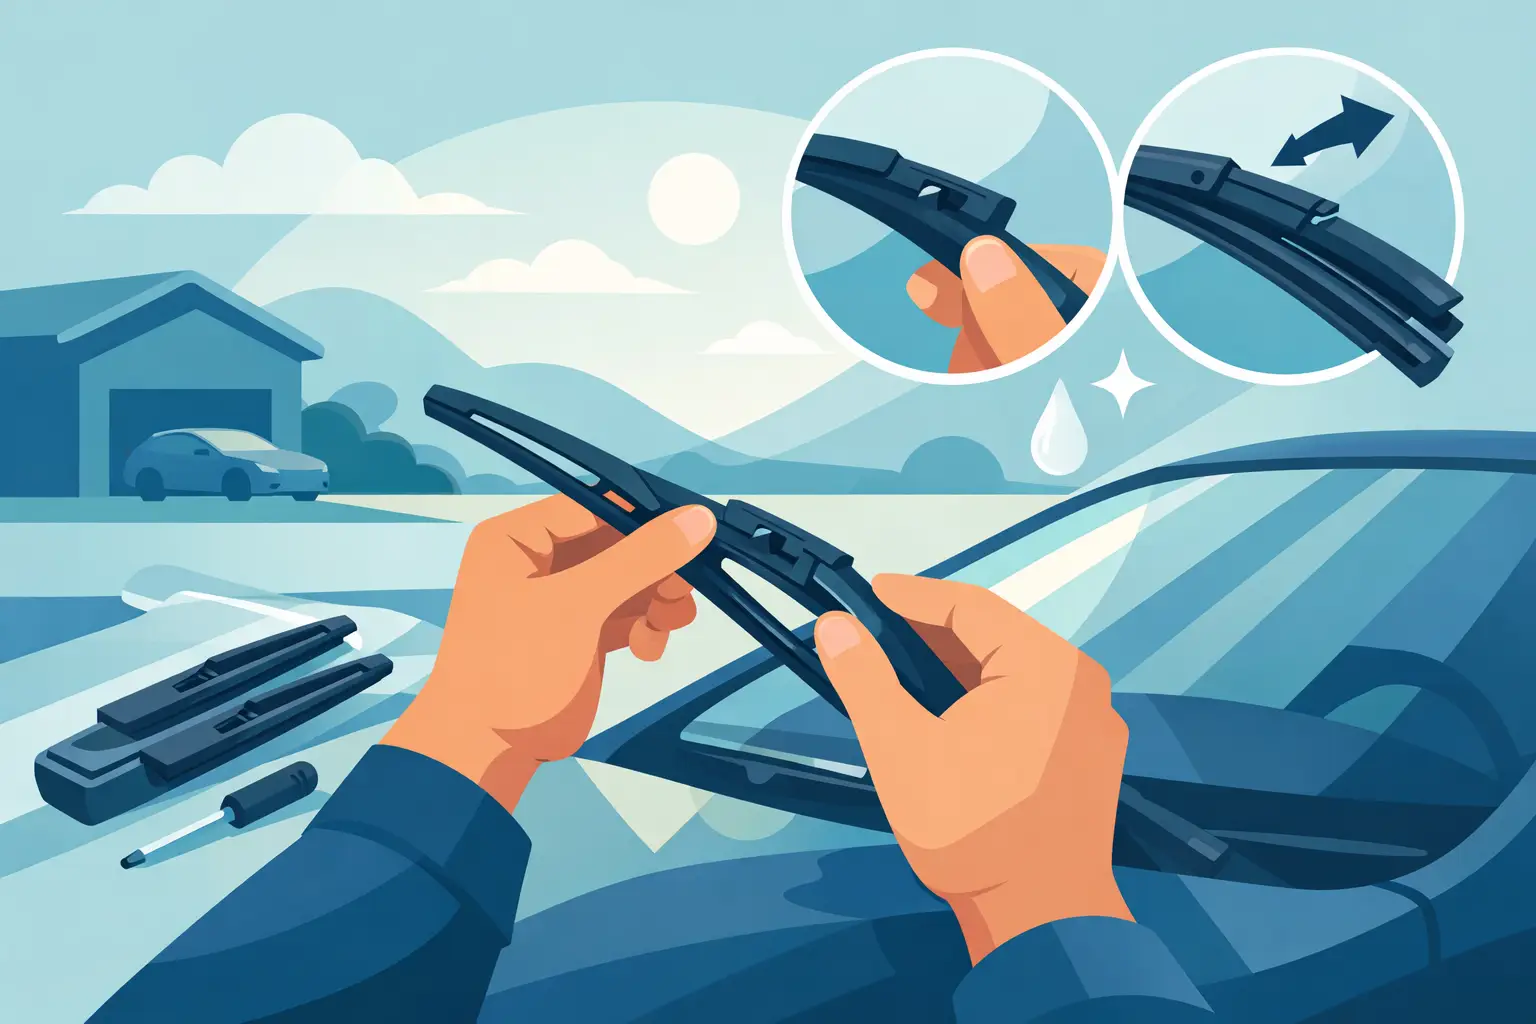
That streak across the windshield is not just annoying – it is your cue. If you are searching for how to replace wiper blades, the job is usually simpler than most drivers expect, but only if you get the fitment and attachment right. A clean, quiet wipe comes down to matching the correct blade style to your vehicle and installing it without forcing anything.
Wiper blades sit in that category of parts people tend to ignore until visibility drops in the middle of rain, sleet, or road spray. Then they become one of the most important safety items on the vehicle. For cars, trucks, Jeeps, and SUVs, replacing them on time is basic maintenance. Doing it correctly also protects your windshield from unnecessary scratching and your wiper arm from damage.
How to replace wiper blades without guesswork
The first step is not pulling the old blades off. It is confirming what your vehicle actually uses. Wiper blades vary by length, attachment style, and frame design. A blade that is close in size but not exact can chatter, miss sections of glass, or sit with uneven pressure.
Many vehicles use different lengths on the driver and passenger sides. Some also have a rear wiper with its own dedicated fitment. If you drive a truck or SUV, do not assume the front pair matches side to side. Check your owner’s manual or verified fitment data before you buy.
You also need to know the blade type. Traditional frame-style blades are common and cost-effective. Beam blades use a more streamlined design with even pressure across the windshield and usually perform better in heavy weather. Hybrid designs split the difference. There is no single best option for every vehicle – climate, driving habits, and windshield shape all matter.
Before you remove the old blades
Park on a level surface and turn the vehicle off. If your vehicle has a service position for the wipers, use it. On some newer models, especially those with wipers that park low under the hood line, you may need to activate a maintenance mode before lifting the arms.
Lift the wiper arm carefully. Do not let it snap back onto the glass. That metal arm can crack or chip a windshield fast. A folded towel on the windshield where the arm would land is cheap insurance.
Take a close look at how the old blade connects. This matters more than people think. The most common connector is a J-hook, but side pin, bayonet, top lock, and pinch tab styles are also out there. If the new blade includes several adapters, compare them carefully before removing anything. A rushed install usually turns into a blade that feels attached but is not fully locked in.
Removing the old blade
On a J-hook arm, rotate the blade so it is perpendicular to the arm. You will usually find a small tab where the hook meets the blade adapter. Press or lift that release, then slide the blade downward to free it from the hook. Once it disengages, the blade will come off.
On a pinch tab design, squeeze both sides of the adapter and slide the blade away from the arm. On top lock or side pin styles, the release method depends on the exact adapter, but it is usually a button, tab, or sliding cap. The key point is simple: if it does not move with moderate hand pressure, stop and reassess. Wiper hardware is not the place to use brute force.
Once the blade is off, set it aside and compare it to the replacement. Length should match exactly unless your fitment source specifically calls for a different updated size.
Installing the new blade correctly
If you are learning how to replace wiper blades for the first time, this is where patience pays off. Start by selecting the correct adapter for your wiper arm, if the blade does not come preconfigured. Most quality replacements are designed to work with multiple arm types, but only one adapter will be right for your vehicle.
For a J-hook, thread the hook through the adapter opening and pull the blade upward until it clicks into place. Give it a light tug to confirm it is locked. For pinch tab, side pin, or top lock systems, align the blade exactly with the arm and press or slide it in until the retention mechanism clicks. You should not have to bend the arm or twist the blade at an awkward angle.
Once installed, lower the arm gently back onto the windshield. Repeat the process on the other side. If your vehicle has a rear wiper, the procedure is often similar but scaled down. Rear blades are more likely to use model-specific designs, so fitment is especially important.
How to replace wiper blades on newer vehicles
Newer vehicles can add one extra layer: electronic park positions and tighter cowl clearances. On some models, the wiper arms cannot be lifted normally because the hood edge blocks them. In those cases, the vehicle may require a short ignition and stalk sequence to move the wipers into service mode.
That is not a complication so much as a detail. The real mistake is forcing the arm upward when it is not meant to move. If the arm feels blocked, do not pry it. Check the owner’s manual and move the system into its intended maintenance position first.
Vehicles with advanced driver assistance systems do not usually require recalibration after a blade swap alone, but it is still smart to avoid leaning heavily on the windshield near cameras or sensors while you work.
Common mistakes that cause noise and streaks
A new blade should improve visibility immediately. If it chatters, skips, or leaves lines, something is off. The blade might be the wrong length, the adapter may not be fully seated, or the windshield itself could be the problem.
Dirty glass is a major cause of poor performance. Road film, bug residue, wax overspray, and washer fluid buildup can all make a fresh blade act worn out. Before testing the new set, clean the windshield thoroughly with a proper automotive glass cleaner or soap and water. Wipe the rubber edge too if it picked up dust during installation.
Another issue is a bent wiper arm. If the old blade wore unevenly or the new one only contacts part of the glass, the arm spring tension or alignment may be off. At that point, replacing blades alone may not solve it.
And then there is the classic mistake: installing the protective shipping cover side or leaving a transport sleeve on the rubber element. It sounds obvious, but it happens.
When to replace wiper blades
Most drivers should inspect blades every few months and expect replacement roughly every six to twelve months, depending on climate and use. Hot sun hardens rubber. Ice and snow can tear edges. Dust and road grit wear the wiping surface faster than people realize.
If you hear squeaking, see streaking, notice split rubber, or find areas of missed contact, it is time. Waiting too long does not save money if poor blades reduce visibility when conditions turn bad.
This is also one of those maintenance items where premium materials can make a real difference. Better rubber compounds, stronger beam construction, and more precise fitment tend to hold up longer and perform better at highway speed. Not every vehicle needs the most expensive blade available, but the cheapest option is not always the best value either.
Choosing the right replacement blade
A practical choice starts with fitment, then moves to driving conditions. If your vehicle sees mostly city use in mild weather, a standard blade may do the job just fine. If you drive long highway miles, deal with winter storms, or want a cleaner low-profile look, beam blades are often worth the upgrade.
Design matters here too. On a vehicle where every visible component counts, even a maintenance part should look like it belongs. That is part of the appeal of modern aftermarket components – function first, but not at the expense of finish. A well-made blade should install cleanly, perform quietly, and complement the vehicle rather than look like an afterthought.
If you are sourcing replacement parts through FORTLUFT, that same mindset applies: practical maintenance with fit, quality, and presentation in balance.
Final check after installation
Once both blades are on, run the washer fluid and cycle the wipers at low and then medium speed. Watch for full glass contact, quiet movement, and secure attachment. If one blade seems loose or leaves a wide untouched section, stop and inspect the connection again.
The job only takes a few minutes, but the payoff shows up every time the weather turns. Clear visibility is not a luxury item. It is one of the simplest upgrades you can make to the way your vehicle feels on the road – controlled, ready, and finished the way it should be.