
A check-engine light, sulfur-like exhaust smell, loss of power, or a rattling sound under the vehicle can all point toward an exhaust issue. But buying the best replacement catalytic components is not just a matter of finding a converter that looks close enough. The correct choice has to match the vehicle, support legal emissions compliance where it will be used, and connect properly with the rest of the exhaust system.
For cars, trucks, Jeeps, and SUVs, catalytic converter replacement is a fitment-driven purchase. The component may be out of sight, but its effect on drivability, emissions performance, and inspection readiness is immediate. A quality replacement starts with the right application, then extends to the pipes, gaskets, clamps, sensors, and hardware that help the repair stay sealed and durable.
What Makes the Best Replacement Catalytic Components?
The best replacement catalytic components are the ones that restore the intended exhaust path without creating a new restriction, leak, warning light, or fitment problem. That means looking beyond the converter body itself.
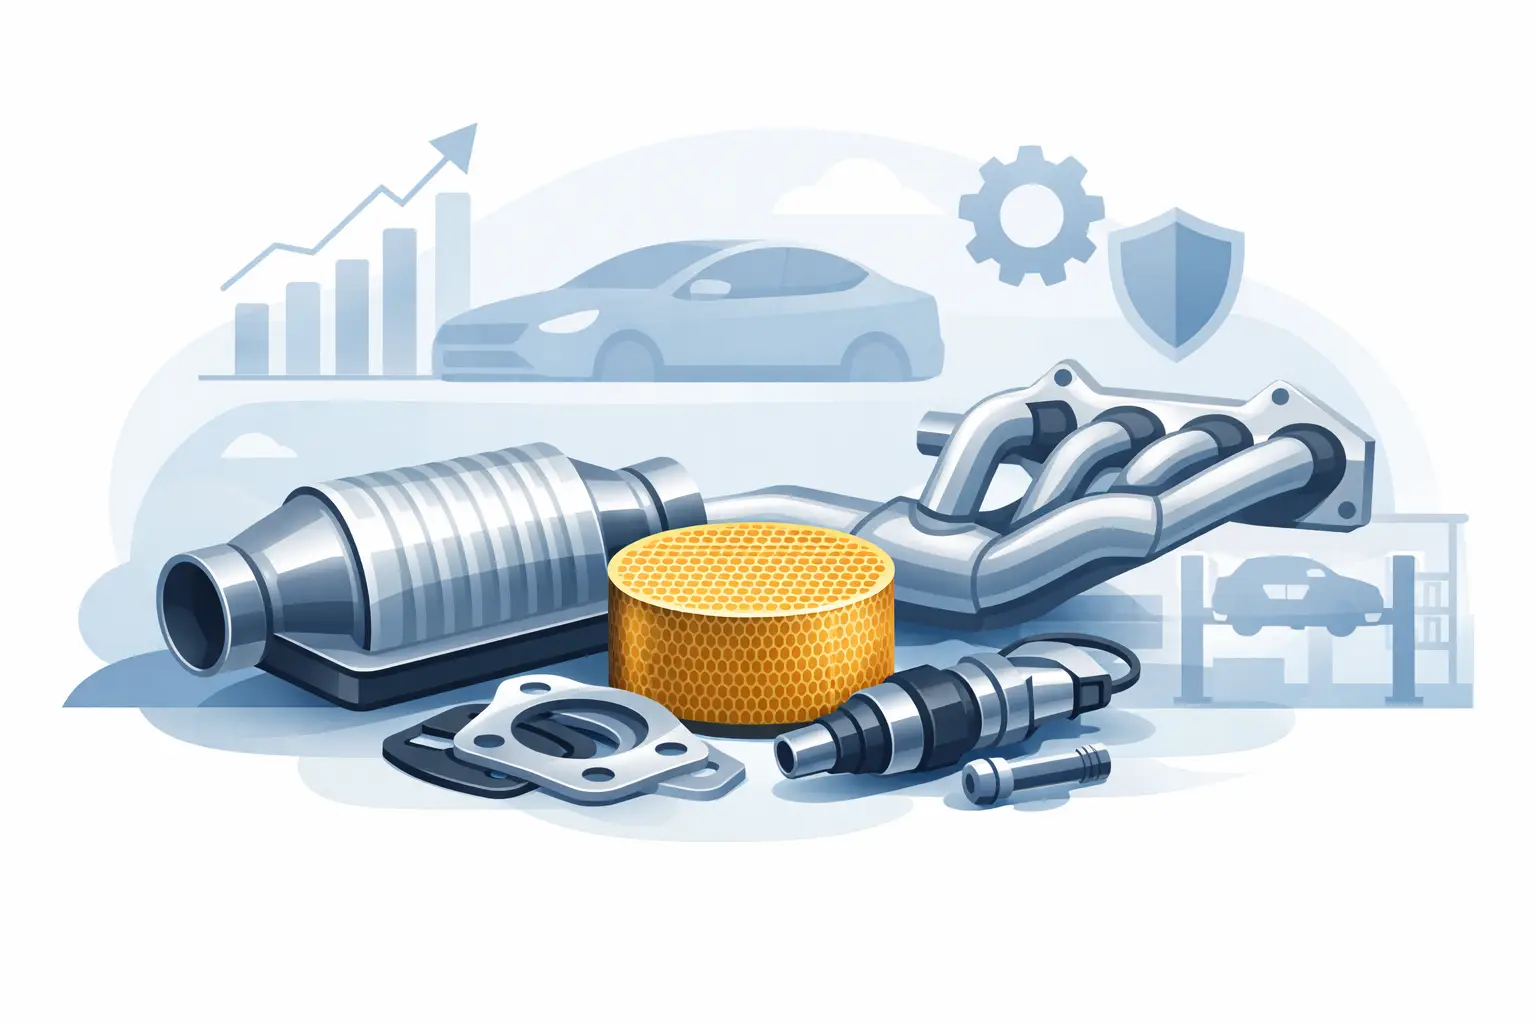
A complete repair may involve a direct-fit catalytic converter assembly, an inlet or outlet pipe, a flange gasket, clamps, hangers, and oxygen sensor-related service. If one part is corroded or distorted, the neighboring parts may not seal correctly after installation. Reusing a weak clamp or burned gasket can turn a good converter into a frustrating repair.
Material and construction matter as well. Exhaust components face intense heat, road moisture, salt, vibration, and repeated expansion and contraction. Stainless steel sections can offer strong corrosion resistance, while properly formed aluminized steel remains a practical choice for many routine replacement applications. Neither material is automatically right for every vehicle. Climate, driving habits, budget, and the original exhaust configuration all influence the best selection.
The internal catalyst is equally important. A converter needs sufficient catalyst loading and the correct design for its intended emissions application. An inexpensive universal unit may be appropriate for a custom exhaust project when installed correctly, but it is not automatically the best answer for a late-model daily driver with strict onboard diagnostics.
Start With Fitment, Not a Generic Part Search
Vehicle fitment is the first filter. Confirm the year, make, model, engine size, drivetrain, body style, and emissions configuration before choosing a catalytic component. A vehicle built for one state can have a different emissions package than the same model sold elsewhere. The number and location of oxygen sensor ports, flange style, pipe diameter, and converter position can also vary.
Direct-fit assemblies are generally the efficient choice for vehicle-specific repairs. They are designed around factory-style mounting points, bends, flanges, and sensor locations. For a DIY owner, that can reduce cutting and welding while helping preserve proper exhaust clearance. For a shop, direct-fit parts can reduce installation time and limit avoidable modifications.
Universal catalytic converters offer flexibility, but they demand more planning. They may require measuring pipe diameter, fabricating transitions, welding, relocating hangers, or adding sensor bungs. That can work well on a custom build, older vehicle, or exhaust repair where fabrication is already required. It is less ideal when the goal is a quick, factory-style replacement with predictable installation.
Before ordering, compare the replacement part against the vehicle’s existing system. Check inlet and outlet diameter, overall length, heat shield clearance, flange orientation, and oxygen sensor placement. A part that technically fits the engine family may still be wrong for the exact exhaust layout.
Check Emissions Requirements Before Purchase
Emissions compliance is not an accessory detail. It determines which converter can legally be installed on a vehicle used on public roads. Federal and California emissions requirements differ, and California Air Resources Board requirements may also apply in other states that follow California standards.
Use the vehicle emissions label under the hood and verify the regulations for the state where the vehicle is registered or operated. A converter approved for one application may not be legal for another, even when the pipes and mounting points appear similar. Commercial buyers and repair shops should also confirm documentation requirements before ordering for customer vehicles.
Avoid removing, hollowing out, or substituting emissions-control equipment with noncompliant parts. Aside from being illegal for road use, those shortcuts can cause check-engine lights, poor fuel control, failed inspection tests, and costly repeat repairs.
Diagnose the Cause Before Replacing the Converter
A failed catalytic converter is sometimes the symptom, not the root cause. Installing a new unit without addressing the original failure can ruin the replacement quickly.
An engine misfire can send unburned fuel into the converter, creating excessive heat that damages the catalyst. Oil consumption, coolant entering the combustion chamber, a rich fuel mixture, failing ignition components, or an inaccurate oxygen sensor can contaminate or overheat the converter as well. A cracked exhaust manifold or leak ahead of a sensor may trigger diagnostic codes that look like converter failure.
A proper diagnosis should include reading trouble codes, checking live sensor data when possible, inspecting for exhaust leaks, and confirming the engine is not misfiring or burning fluids. Physical inspection matters too. A rattling converter may have a broken substrate, while a blue or discolored shell can indicate overheating. Low power under load may suggest a restricted exhaust, but it should not be assumed without testing.
This step protects the investment. The best replacement part cannot compensate for a persistent ignition or fuel-control problem.
Do Not Overlook the Supporting Exhaust Parts
Catalytic converter work often reveals wear in the surrounding exhaust system. Rusted fasteners, seized sensor threads, cracked flex pipes, flattened hangers, and warped flanges are common on higher-mileage vehicles. Planning for these items before beginning the job prevents delays once the vehicle is on a lift or in the driveway.
A fresh gasket should be used whenever a flange connection is separated, unless the application specifically uses a reusable sealing design that remains undamaged. Select clamps that match the pipe diameter and connection style. A clamp that is too narrow, undersized, or poorly positioned can cause a leak that affects sensor readings and creates unwanted noise.
Inspect the flex pipe carefully. Its job is to absorb engine movement so stress is not transferred through the exhaust. When the flex section is cracked or worn, replacing only the converter may leave the new assembly exposed to vibration and premature fatigue.
Oxygen sensors deserve the same attention. If a sensor is slow, contaminated, physically damaged, or difficult to remove, address it during the exhaust repair rather than after a warning light returns. Always confirm whether the vehicle uses upstream, downstream, wideband, or multiple sensors before purchasing related components.
Balance Cost, Installation Time, and Long-Term Value
The lowest initial price is not always the lowest repair cost. A universal converter may cost less than a direct-fit assembly, but fabrication labor, additional pipe, welding, and sensor modifications can change the total. On the other hand, a direct-fit assembly can be a better value when it reduces labor and restores factory-style geometry.
For vehicles exposed to winter road salt, corrosion-resistant exhaust materials can justify a higher upfront cost. For a truck used for towing, pipe routing, heat management, and secure hangers deserve special consideration because the exhaust system sees greater load and temperature cycles. For an older weekend project, a universal solution may be the practical route if the installer has the tools and fabrication experience.
Appearance can matter too, especially when exhaust repairs connect to a broader build. Clean pipe routing, properly aligned tips, and quality materials give the underside and rear profile of a vehicle a more finished look. At FORTLUFT, that balance of useful engineering and visual detail reflects a simple principle: technology can be an art form when the components are chosen with purpose.
A Smarter Way to Order Replacement Components
Build the order around the full repair, not only the failed part. Verify the exact vehicle application and emissions designation first. Then account for gaskets, clamps, hardware, pipes, flex sections, and sensors that may be needed once disassembly begins. If the vehicle has a known engine issue, resolve it before installing the new catalytic component.
Keep the old part available for comparison until the replacement is confirmed. Compare connection points, sensor ports, pipe angles, and heat shield locations before installation. After the repair, inspect every joint for leaks, make sure the exhaust has clearance around suspension and body components, and clear diagnostic codes only after the underlying fault has been corrected.
The right catalytic replacement is the one that fits the vehicle’s emissions configuration, survives its real operating conditions, and supports a clean, properly sealed exhaust system. Choose carefully now, and the next cold start should sound exactly as it should: quiet, controlled, and ready for the road.