
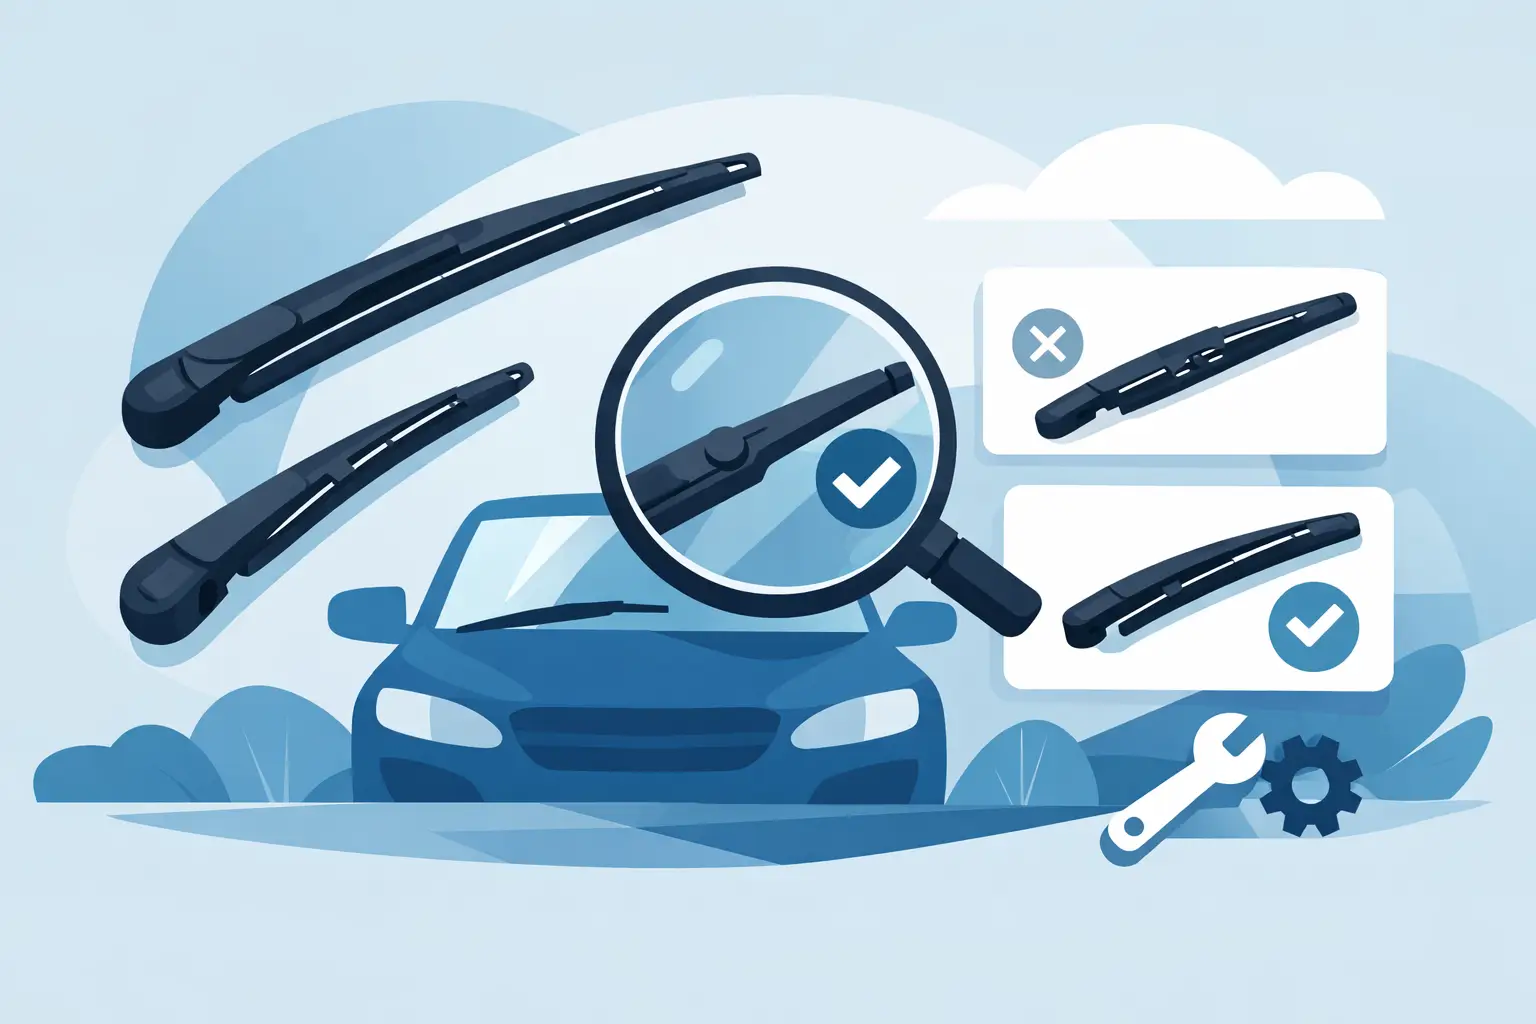
A streaking windshield is often blamed on worn blades, but a weak spring, bent frame, or corroded pivot can make a new blade perform just as badly. Knowing how to buy replacement wiper arms starts with identifying the arm you actually have, then matching its fitment and connection details before placing an order. A correct replacement restores even blade pressure, clear visibility, and the clean factory-style appearance your vehicle deserves.
Know When the Wiper Arm, Not the Blade, Is the Problem
Wiper blades are wear items. They crack, harden, and lose their wiping edge over time. Wiper arms should last much longer, but they are exposed to sun, road salt, ice, car washes, and repeated spring tension. When an arm fails, replacing blades alone will not correct the underlying problem.
Look closely at the arm while the wipers are parked and while they are operating. An arm that sits noticeably higher or lower than the other may be bent or installed incorrectly. If one blade chatters, skips a section of glass, or leaves a consistent unwiped area despite using a quality new blade, the arm may not be applying enough pressure. A loose arm at the pivot, stripped splines, a cracked hinge, or heavy corrosion are also clear reasons to replace it.
Do not overlook the rear wiper arm. Rear arms commonly suffer from seized pivots, broken plastic covers, damaged springs, and corrosion around the mounting point. Their shape and attachment style are usually vehicle-specific, so they require especially careful fitment checks.
How to Buy Replacement Wiper Arms by Vehicle Fitment
Start with the complete vehicle profile: year, make, model, body style, and trim. For many vehicles, that is enough to narrow the selection. However, wiper systems can vary within the same model year. A sedan and wagon may use different rear arms, while a base trim and an upper trim may have different windshield washer nozzles or arm configurations.
Use the VIN when available, particularly for late-model vehicles, fleet units, or models with several body configurations. It helps verify production details that a basic year-make-model lookup may miss. This matters most for rear wiper assemblies, vehicles with integrated washer jets, and imported or limited-production applications.
Fitment should always take priority over a part that merely looks similar in a product photo. Wiper arms may appear nearly identical but differ in offset, sweep angle, spring force, pivot bore size, or blade-end connection. A few millimeters of difference at the arm can shift the blade path enough to strike the windshield molding, miss the glass edge, or park in the wrong position.
Confirm Whether You Need Front, Rear, Driver, or Passenger Side
Front wiper arms are often side-specific. The driver-side arm may be longer, have a different bend, or use a different blade connection than the passenger-side arm. On some vehicles, the arms overlap in a precise pattern. Installing the wrong arm on the wrong side can cause interference during operation.
When shopping, verify the position stated in the part description. If both front arms are damaged, compare each side separately instead of assuming they share the same part number. Rear arms are usually sold individually and should be selected specifically for the rear glass application.
Match the Pivot Mounting Style
The pivot-end attachment is one of the most critical details. The arm must lock securely to the wiper transmission shaft and maintain its parked position under load. Common designs include splined shafts secured with a nut, tapered splines, flat-sided shafts, and special locking mechanisms hidden under a cap.
Before ordering, lift the base cover if your vehicle has one and inspect the mounting area. Note whether the arm is held by a visible nut, a retaining clip, or a push-on design. If you are replacing an arm because it is loose, inspect the wiper pivot shaft as well. A new arm cannot solve stripped splines or a damaged transmission shaft.
Take a clear photo of the mounting end and compare it with the replacement part specifications. This is more useful than comparing the blade end alone. If an arm is listed for your exact vehicle, that fitment confirmation should still align with what you see at the pivot.
Check the Blade-End Connection Separately
The outer end of the arm must accept the blade assembly you plan to run. Many replacement blades use common adapters, but the arm end may be a hook, pin, bayonet, side-lock, top-lock, or a vehicle-specific connection. Do not confuse the blade attachment with the pivot mount – both must match.
If you are retaining recently purchased blades, confirm they fit the replacement arm. If you are replacing everything at once, buying compatible arms and blades together removes one variable from the job. This is also a good time to confirm blade length, but remember that the correct arm is not determined by blade length alone.
Compare Shape, Length, and Sweep Geometry
A wiper arm is engineered to place the blade at a specific angle across the windshield. Its bends, offset, and length determine where the blade parks and how it clears the windshield trim, hood edge, and opposite blade. That is why universal arms can be a compromise: they may work for a limited range of applications, but vehicle-specific arms deliver the most dependable alignment.
Compare the replacement arm to the original before installation. Pay attention to the overall length from pivot to blade connection, the direction and amount of bend, the angle of the blade-end saddle, and the position of any washer nozzle. A front arm that is slightly too long can overtravel at the edge of the glass. One that is too short may reduce the wiped area directly in your line of sight.
For vehicles used in snow, mud, construction, or off-road conditions, correct spring tension matters as much as geometry. The arm must hold the blade against the glass without being so aggressive that it creates chatter or accelerates blade wear. Vehicle-specific replacements are generally the safest choice for maintaining the original pressure balance.
Do Not Miss Washer Nozzles and Special Features
Some wiper arms include integrated washer nozzles or tubing connections. Others work with nozzles mounted in the cowl or hood. If your arm carries washer fluid to the windshield, make sure the replacement has the correct nozzle arrangement and hose connection.
Inspect the washer hose while the arm is off. Brittle tubing, loose fittings, and clogged nozzles can turn a straightforward arm replacement into a second repair. If the washer system is working correctly, avoid forcing the hose during removal. A small amount of care here prevents a damaged line from becoming the reason your new wiper arm cannot rinse the glass.
Heated wiper park areas, rain-sensing systems, and concealed wiper designs do not necessarily change the arm itself, but they can make the assembly more specific to the vehicle. Treat these systems as another reason to verify fitment rather than choosing by visual similarity.
Choose Material and Finish for the Way You Drive
Most replacement wiper arms are steel with a protective black finish. This is the practical standard because it offers the required strength and blends with factory trim. In regions where winter salt is common, corrosion resistance deserves extra attention. A durable coated finish helps preserve both the arm’s appearance and the integrity of its spring and hinge areas.
The lowest-price option is not always the best value if its coating chips early or its spring pressure is inconsistent. On the other hand, a premium finish does not compensate for incorrect fitment. Buy the arm that matches your vehicle first, then select the best material and finish available for your climate, budget, and expectations.
For trucks, Jeeps, and SUVs that see frequent weather exposure, inspect the entire wiper system during replacement. Clean corrosion from the pivot area, check the cowl for trapped debris, and make sure the windshield is free of abrasive grit before testing new blades. Clear glass and properly loaded arms work together.
A Smart Ordering Checklist Before You Buy
Before adding a replacement arm to your cart, verify these details:
- Exact vehicle year, make, model, body style, and trim, with VIN confirmation when needed
- Front driver-side, front passenger-side, or rear position
- Pivot mounting design and retaining method
- Blade-end connection type and required blade length
- Integrated washer nozzle, hose, or special equipment requirements
- Overall arm shape, offset, and finish compared with the original part
This quick check prevents the most common returns: ordering a front arm for the rear, choosing the wrong side, or selecting an arm with a compatible-looking blade end but an incompatible pivot mount.
Install Carefully and Test Before Driving
When the correct part arrives, remove the old arm with the wipers in their normal parked position. Mark the parked location on the glass with painter’s tape if there is any chance you will lose reference. Lift the protective cap, remove the retaining nut or release the lock, and use a wiper arm puller if corrosion has bonded the arm to the shaft. Prying aggressively against the windshield or cowl can cause expensive damage.
Install the new arm in the marked parked position, secure it to the manufacturer’s required tightness, and attach the blade. Before turning the system on, wet the windshield with washer fluid or water. Run the wipers at low speed and watch for clean sweep coverage, proper parking, clearance from trim, and interference between the blades.
A replacement wiper arm is a small component with a direct effect on visibility. Buy with the same attention you would give any functional exterior part: precise fitment, correct connections, dependable materials, and a finish that looks right on the vehicle. At FORTLUFT, that practical standard fits the idea that even routine maintenance can reflect technology as an art form.