
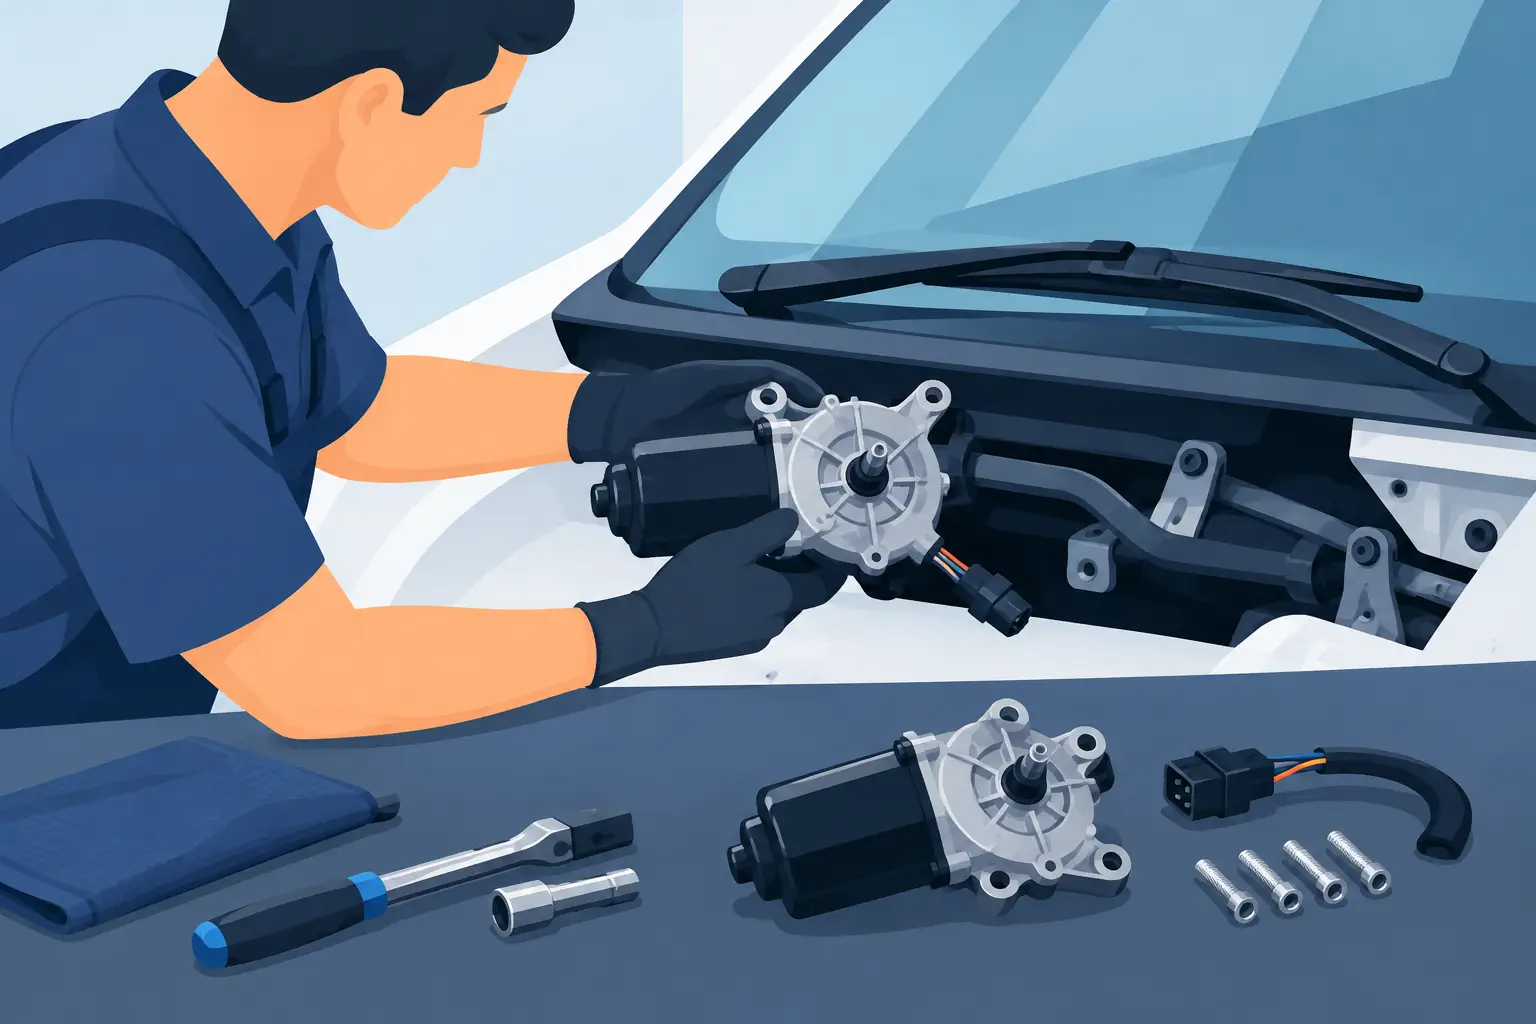
A failed wiper motor turns a light rain into a visibility problem fast. If the fuse, switch, wiring, and wiper linkage check out, replacing the motor is often a direct repair. Knowing how to install wiper motor assemblies correctly matters because one small alignment mistake can leave the blades parking in the wrong spot, striking the cowl, or sweeping beyond the windshield edge.
The exact layout depends on the vehicle. Some wiper motors sit behind the cowl panel and connect to a transmission linkage, while others mount to a bracket assembly that comes out as one unit. Rear wiper motors commonly mount inside the liftgate or tailgate. The process below covers the front wiper motor setup found on many cars, trucks, Jeeps, and SUVs, with notes for common variations.
Confirm the Motor Is Actually the Problem
Do not replace the motor just because the wipers stop moving. A blown fuse, worn multifunction switch, damaged connector, seized pivot, or disconnected linkage can create the same symptom. Turn the ignition on and listen while someone operates the wiper switch. A humming sound under the cowl often points to a linkage issue rather than a dead motor.
Check the fuse first, then inspect the connector at the motor for corrosion, loose terminals, or damaged wiring. If power and ground reach the motor when the switch is on but the motor does not run, replacement is usually justified. If the motor runs but the arms do not move, inspect the linkage bushings and pivot points before ordering parts.
Fitment is not just about the electrical connector. Verify the motor for your vehicle’s year, make, model, body style, and wiper system configuration. Features such as intermittent speed, rain sensing, rear wipers, and washer integration can change the correct replacement part.
Tools and Parts to Gather Before You Start
Give yourself room to work and keep small hardware organized. On most vehicles, you will need:
- A replacement wiper motor matched to the application
- A socket set, ratchet, and extensions
- A trim removal tool and flat screwdriver
- A wiper-arm puller if the arms are stuck on their splined shafts
- Masking tape or a paint marker for alignment marks
- Safety glasses and gloves
A torque wrench is a smart addition if the service information specifies mounting or wiper-arm torque. Avoid forcing plastic cowl clips or linkage sockets with a screwdriver. Those parts may look simple, but a cracked retainer can create an annoying rattle or allow water into the cowl area.
How to Install a Wiper Motor Step by Step
1. Park the wipers and disconnect the battery
Run the wipers, then switch them off and let them return to their normal parked position. This creates a reference point before anything comes apart. Turn off the ignition and disconnect the negative battery cable.
Disconnecting the battery is especially worthwhile on vehicles with crowded cowl areas, electronically controlled wiper systems, or nearby airbag wiring. It also prevents the motor from moving unexpectedly while your hands are near the linkage.
2. Mark and remove the wiper arms
Use masking tape on the windshield to mark each blade’s parked position. Lift the arm, remove the protective cap at the base if equipped, and remove the retaining nut. Rock the arm gently on the pivot shaft before lifting it away.
Do not pry against the windshield. If the arm is seized to the splines, use a dedicated wiper-arm puller. This is slower than forcing it loose, but it protects the windshield, paint, and pivot shaft.
3. Remove the cowl panel and access the assembly
Remove weatherstripping, clips, screws, or push retainers holding the cowl panel in place. The cowl may come off in sections, and some vehicles require removing a cabin air filter cover or other trim first. Lift the panel carefully and set it aside where it will not warp.
Clean leaves, dirt, and standing water from the cowl while it is open. Blocked drains can flood the area around the wiper motor and cause corrosion at the connector, motor case, or linkage pivots.
4. Photograph the linkage before removal
Take a clear photo of the motor, bracket, wiring connector, and linkage position. This takes seconds and can save considerable time during reassembly. If the linkage attaches to the motor crank arm, mark the arm’s relationship to the shaft before removing it.
On many applications, the easiest route is removing the motor and transmission linkage together. Other vehicles allow the motor to unbolt from a bracket while the linkage remains installed. Follow the arrangement that gives clean access without bending rods or stressing plastic ball sockets.
5. Disconnect the wiring and remove the old motor
Release the electrical connector lock and pull the connector straight off. Remove the motor mounting bolts or nuts, supporting the assembly as the final fastener comes out. If you are removing the full linkage assembly, release it from the pivot mounting points as required.
Inspect the old unit before setting it aside. Compare its mounting holes, connector shape, output shaft, crank arm, and housing orientation with the replacement. A part that is nearly identical can still have a different park position or mounting clocking.
6. Set the new motor to its park position
This is the step that prevents most installation errors. If the replacement motor has a removable crank arm, connect the motor electrically while it is safely supported and clear of the linkage. Briefly cycle it with the wiper switch, then turn the switch off and allow the motor to stop on its own. Disconnect the battery again once the motor reaches its park position.
Some motors arrive pre-parked, but relying on that assumption can create trouble. Cycling the motor confirms that the internal park circuit is working and establishes the correct output-shaft position before you attach the linkage.
7. Install the motor and reconnect the linkage
Position the new motor or motor-and-linkage assembly in the cowl area. Start all mounting hardware by hand, then tighten it evenly to the vehicle manufacturer’s specification. Reconnect the electrical connector until its lock engages.
Attach the linkage with the motor parked and the wiper pivots in their normal rest position. If the linkage uses a ball-and-socket connection, press it on squarely until fully seated. Do not use excessive force on a plastic socket that is misaligned. Reposition the linkage first, then press it into place.
8. Test before reinstalling the cowl and arms
Reconnect the battery and test the motor before reinstalling exterior trim. Watch the linkage through low speed, high speed, intermittent operation, washer function, and the final park cycle. The movement should be smooth, with no binding, clicking, or contact against nearby components.
If the motor runs but the linkage moves in an odd arc, stop immediately. The crank arm may be indexed incorrectly, or the linkage may be attached in the wrong position. Correcting it now is far easier than removing the cowl again later.
9. Reinstall the cowl and align the wiper arms
Once the linkage passes the test, reinstall the cowl panel, fasteners, and weatherstripping. Place each wiper arm on its pivot shaft using the tape marks you made earlier. Install and tighten the retaining nuts, then replace the caps.
Test the system with the windshield wet. The blades should sweep cleanly, clear the windshield molding, and return to the exact parked position. If they park too high, hit the cowl, or overlap each other, remove the affected arm and reposition it one spline at a time.
Common Installation Mistakes That Cause Repeat Repairs
The most common mistake is installing the arms before confirming the motor’s parked position. Another is skipping the linkage inspection. A new motor cannot compensate for seized pivots, cracked bushings, or a bent transmission rod.
Be cautious with universal or loosely matched replacement motors. The connector may plug in, yet the mounting pattern, shaft indexing, or park circuit can differ. Application-specific aftermarket components provide the best chance of restoring proper sweep coverage and dependable operation.
Also inspect the wiper blades while the job is fresh. Hardened rubber or a bent blade frame can make a newly repaired system look faulty, especially during light rain when streaking is most obvious.
A correctly installed wiper motor should disappear into the background: quiet movement, full coverage, and a clean park position every time. Take the extra few minutes to verify fitment, park the motor before connecting the linkage, and test the system before closing the cowl. That attention to detail is what turns a replacement part into a dependable repair.