
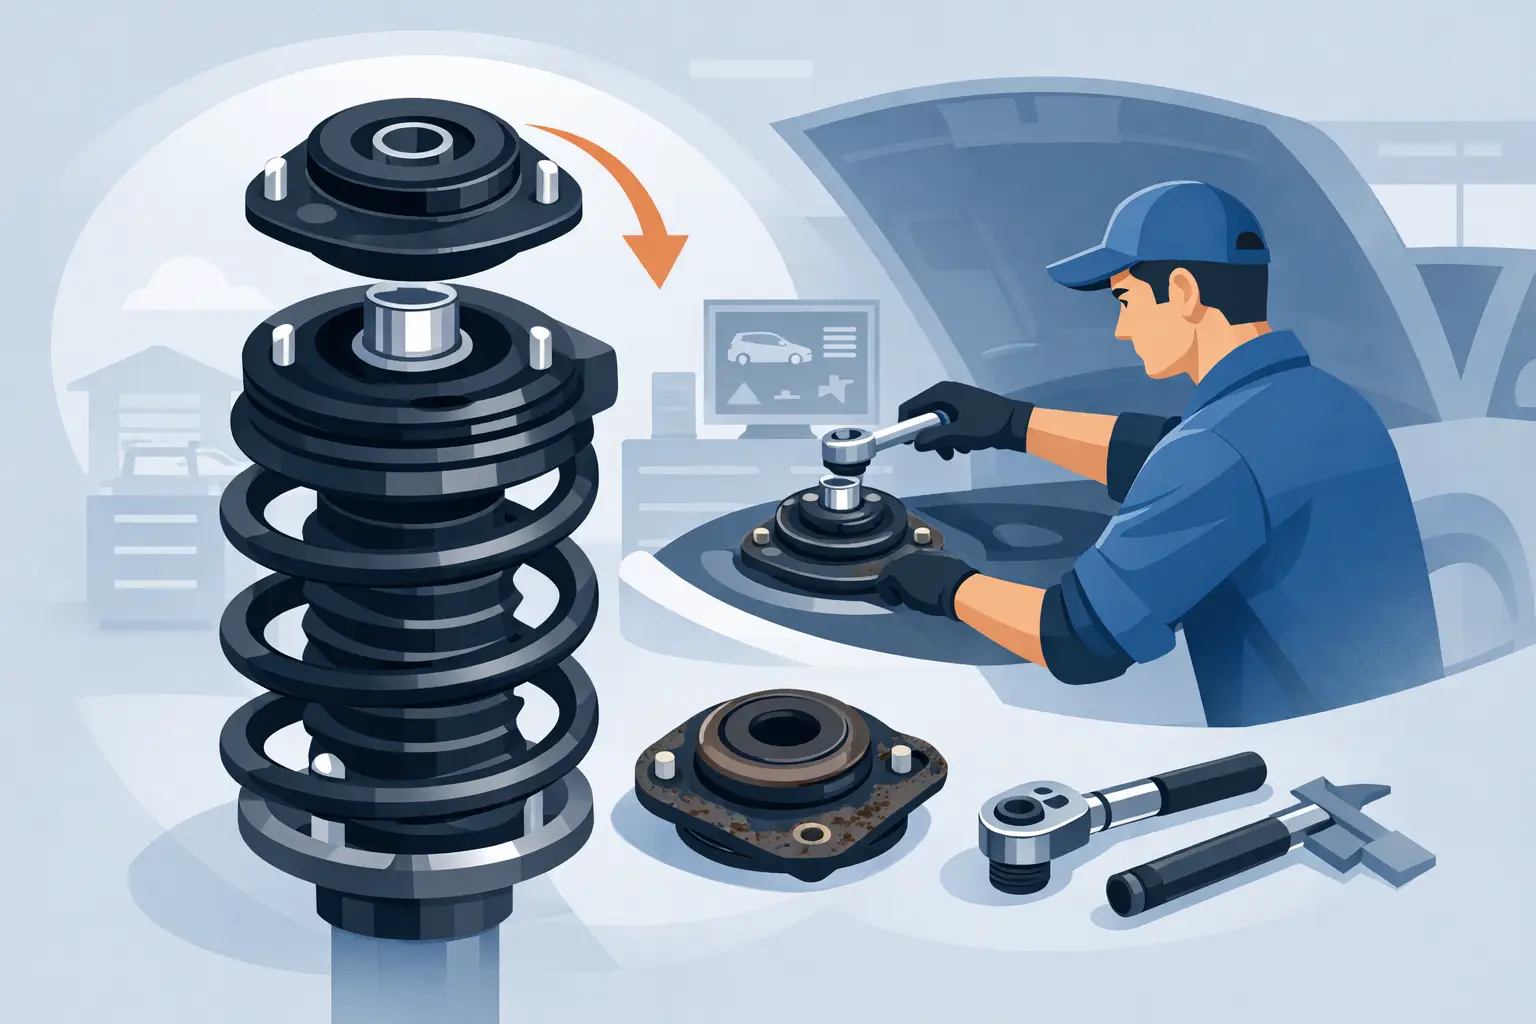
A sharp clunk over driveway entrances, a springy knock on rough pavement, or steering that feels notchy when parked can point to a strut mount that has reached the end of its service life. Knowing how to replace strut mounts helps restore quiet, controlled suspension movement, but this is not a job to rush. The coil spring stores serious energy, and correct assembly matters as much as selecting the right replacement part.
On many cars and crossovers with MacPherson-strut front suspension, the strut mount connects the top of the strut assembly to the vehicle body. It isolates road vibration through rubber, supports the assembly, and often includes a bearing that lets the strut turn smoothly with the steering. Trucks and SUVs may use a different suspension layout, so confirm your vehicle’s design before ordering parts or planning the repair.
Confirm the Strut Mount Is the Problem
A worn strut mount can make noise, but it is not the only component that can. Stabilizer links, ball joints, tie rods, worn shocks or struts, loose brake hardware, and control-arm bushings may create similar symptoms. Start with a focused inspection before taking the suspension apart.
With the vehicle parked, turn the steering wheel slowly from lock to lock. A binding, popping, or creaking sensation near the strut tower can indicate a failed upper bearing. Then inspect the mount from under the hood or inside the cargo area, depending on the vehicle. Look for split rubber, separation between the rubber and metal housing, corrosion around mounting hardware, or a strut shaft that appears off-center.
A helper can also turn the steering wheel while you watch the top of the strut assembly. Excessive movement, jerking, or a spring that winds up and releases rather than turning smoothly is a strong clue. Still, diagnosis depends on the vehicle. Some mounts are designed with visible clearance and movement, so compare what you see with factory service information.
If one mount is worn, replacing mounts on both sides of the same axle is usually the smarter move. They experience the same mileage, weather, and road impacts. If the struts are leaking, weak, or original at high mileage, replacing complete strut assemblies can save labor and avoid compressing the springs separately.
Tools and Parts for Replacing Strut Mounts
This job requires more than a jack and basic sockets. The exact sizes, access points, and torque values vary by vehicle, but a typical setup includes:
- Floor jack, jack stands, wheel chocks, and a lug wrench
- Socket and wrench set, breaker bar, torque wrench, and penetrating oil
- Pry bar, marker or paint pen, and suitable pliers for clips or brackets
- A quality external spring compressor, or a complete preassembled strut unit
- New strut mounts, bearing plates if separate, and any one-time-use hardware specified by the manufacturer
Do not use a jack alone to support the vehicle. Do not use improvised spring-compression methods, damaged compressors, or a bench vise as a substitute for a spring compressor. A compressed coil spring can cause severe injury if a tool slips or fails.
Before beginning, check whether your vehicle uses torque-to-yield bolts or self-locking nuts at the strut-to-knuckle connection or strut shaft. These fasteners may need replacement rather than reuse. Have the correct parts on hand before disassembly.
How to Replace Strut Mounts Step by Step
1. Secure and raise the vehicle
Park on level, solid ground. Set the parking brake, chock the wheels that remain on the ground, and loosen the lug nuts slightly before lifting. Raise the vehicle at its approved lift point, place it securely on jack stands, then remove the wheel.
Open the hood for front struts and locate the upper mount fasteners. On some SUVs and wagons, rear upper mounts are accessed through interior trim or the cargo area. Do not remove the center nut on the strut shaft while the strut assembly is installed. That nut retains the compressed spring assembly.
2. Free the strut from attached components
Support the steering knuckle or lower control arm as needed so the brake hose, axle, and wiring are not pulled tight. Disconnect brackets for the brake hose and ABS sensor wire from the strut body. Depending on the vehicle, you may also need to disconnect the stabilizer-bar link.
Mark the position of any camber-adjustment bolt before removal. A paint mark can help preserve the previous setting well enough to drive to an alignment shop, but it is not a replacement for a professional alignment. Remove the lower strut-to-knuckle bolts. These may be very tight and corroded, so use controlled force and avoid striking components that could damage the wheel bearing, threads, or brake lines.
3. Remove the strut assembly
With the lower connection free and the knuckle supported, remove the upper mount nuts. Leave one nut loosely threaded until you are ready to support the strut with one hand. Lower the complete assembly carefully out of the wheel well.
Take a moment to inspect the coil spring, bump stop, dust boot, strut body, and lower spring seat. A broken spring coil, leaking strut, torn boot, or crumbling bump stop changes the value equation. Reusing visibly worn surrounding components means repeating much of this labor later.
4. Compress the spring correctly
Install the spring compressor on opposite sides of the coil, following the tool manufacturer’s instructions exactly. Ensure each jaw is fully seated on solid sections of the spring and positioned evenly. Compress the spring only until it is no longer pressing against the upper mount and spring seat.
This is the critical safety step. Keep your body out of the spring’s potential path, check that the compressor remains aligned as tension increases, and never use an impact tool on a compressor unless its manufacturer specifically allows it. If the spring is severely rusted, the compressor does not seat securely, or you are uncertain about the setup, take the assembly to a professional suspension shop.
5. Replace the mount and bearing
Once spring tension is contained, remove the strut shaft nut using the method specified for your vehicle. Many strut shafts require an Allen, Torx, or pass-through socket to keep the shaft from spinning. Lift off the old mount, bearing plate, and upper spring seat in order.
Compare the old and new parts closely. The mount may have an orientation mark, a directional arrow, or offset studs that must face a particular direction. Install the new bearing and mount in the same sequence as removed. Make sure the end of the coil spring sits in the formed pocket of both the upper and lower spring seats. A spring that is indexed incorrectly can make noise, sit unevenly, or damage parts under load.
Torque the shaft nut to the vehicle manufacturer’s specification. Then release the spring compressor slowly and evenly, confirming that the coil remains fully seated as pressure transfers back to the mount.
6. Reinstall, torque, and align
Guide the assembly back into place and start the upper mount nuts by hand. Attach the lower strut-to-knuckle bolts, reconnect the stabilizer link and all line brackets, and reinstall the wheel. Follow the required torque sequence and specifications, including any procedure that calls for suspension fasteners to be tightened at normal ride height.
After lowering the vehicle, torque the lug nuts in the correct pattern. Turn the steering wheel lock to lock while parked and listen for binding. Then schedule a wheel alignment. Removing the strut can change camber and toe, even when alignment marks appear to line up. Skipping alignment can cause poor handling and wear out expensive tires quickly.
Common Mistakes That Create Repeat Repairs
The biggest mistake is replacing only the rubber mount when the bearing is rough or seized. On many front-strut setups, the mount and bearing work as a system. If they are sold separately, inspect and replace both as needed.
Another common issue is tightening fasteners by feel. Suspension hardware sees constant load, vibration, and steering force. Use current service specifications for your exact year, make, model, and suspension package. Generic torque figures are not reliable enough for a safety-critical repair.
Finally, do not confuse a quiet test drive with a complete repair. Listen over low-speed bumps, check steering return-to-center, and inspect the upper mount area after several miles. Any pop, shift, or visible movement deserves a second look before it becomes a larger suspension problem.
A properly installed strut mount is a small component with a noticeable effect: quieter operation, cleaner steering response, and a suspension that looks and performs as precisely as it should. Choose parts built for the application, respect the stored energy in the spring, and let final alignment put the vehicle back on the road with confidence.