
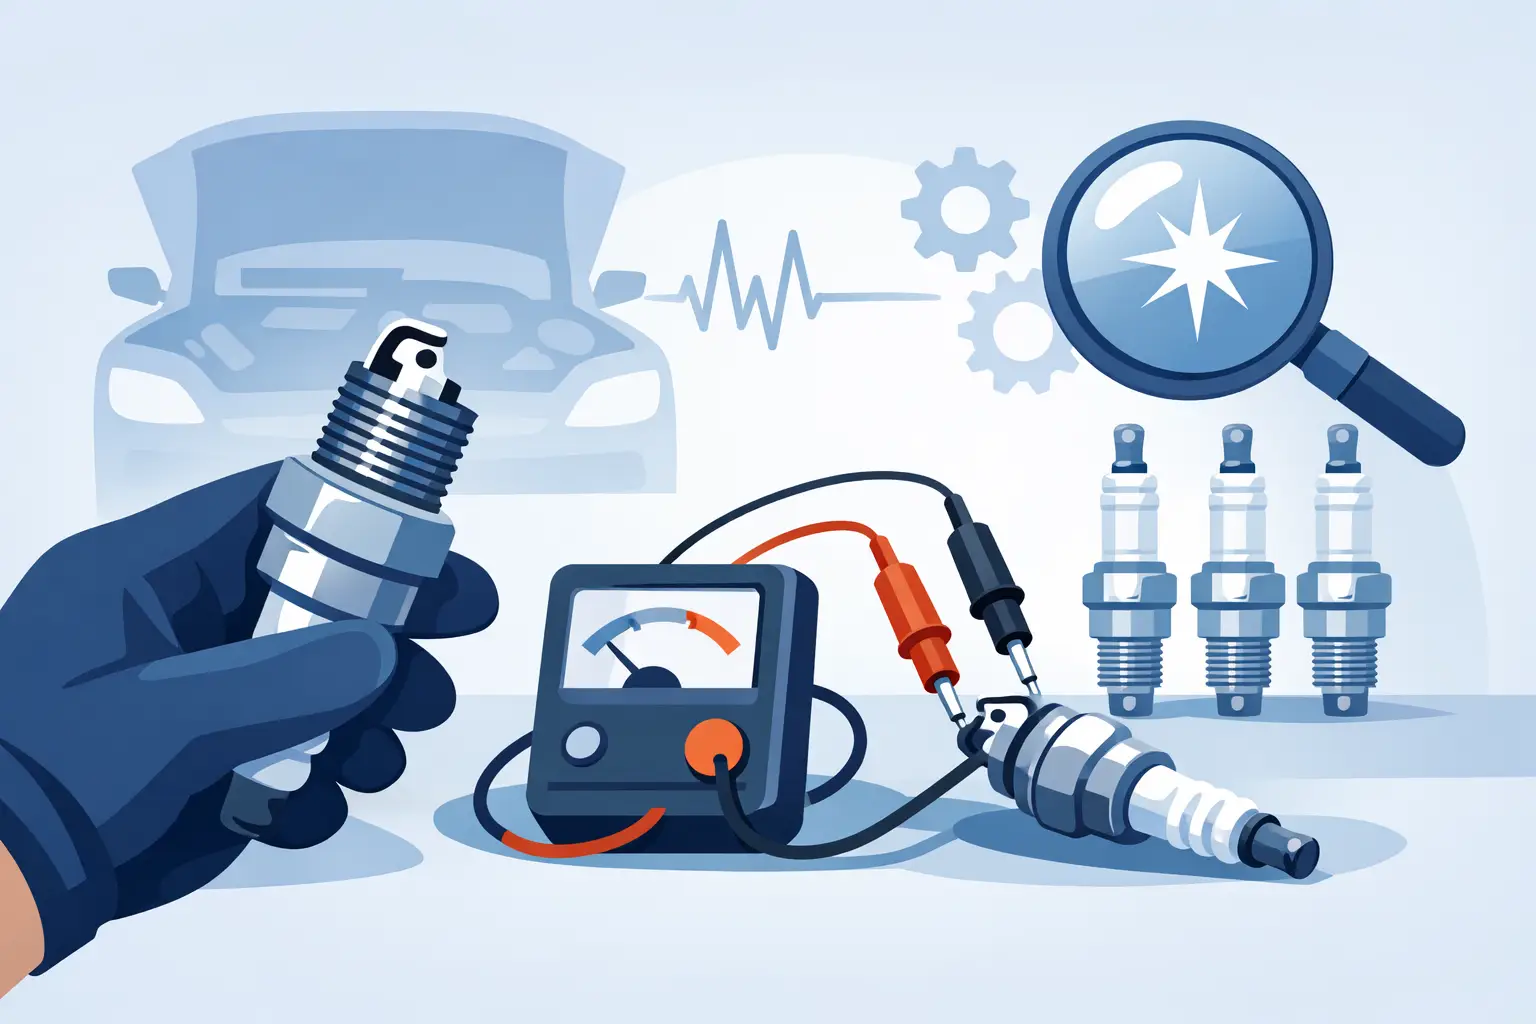
A misfire that shows up under load, a rough idle at a stoplight, or a longer-than-usual crank can point to ignition trouble. Learning how to test spark plugs helps you separate a worn service item from a deeper fuel, compression, or ignition-coil problem before ordering parts.
Spark plugs work in a harsh environment. They must fire thousands of times per minute while handling high cylinder pressure, heat, vibration, and combustion deposits. A plug can look slightly used and still perform well. It can also look acceptable at a glance while its gap, internal resistance, or ability to fire under pressure has deteriorated.
The right test depends on the engine and the symptom. A visual inspection and gap check are usually the fastest starting point. A multimeter can identify certain internal faults, while an adjustable spark tester offers a more realistic check of the ignition system. Use all three when the diagnosis is unclear.
Start With the Right Tools and a Cold Engine
Let the engine cool completely before removing plugs. Aluminum cylinder heads are easy to damage when hot, and a hot exhaust manifold leaves little room for error. Disconnecting the negative battery cable is a sensible precaution, especially on vehicles with coil-on-plug ignition systems.
You will need a correct-size spark plug socket, ratchet, extension, gap gauge, a clean shop rag, and dielectric grease for coil boots if the vehicle manufacturer calls for it. For electrical testing, have a digital multimeter and an adjustable spark tester ready. A torque wrench is strongly recommended for reinstallation.
Before removing anything, clean dirt and debris from around each spark plug well with compressed air or a vacuum. Debris that falls into the cylinder can score the bore or interfere with the plug seat. Label ignition wires or coils if there is any chance they could be mixed up during reassembly.
Remove and inspect one spark plug at a time. This keeps each plug tied to its cylinder, which matters when one cylinder is running differently from the others.
How to Test Spark Plugs With a Visual Inspection
The firing end of a spark plug is a record of what has been happening inside that cylinder. Compare every plug side by side under good light. A normal plug usually has a light tan, gray, or slightly brown insulator nose with moderate electrode wear.
Dry, fluffy black soot often indicates a rich air-fuel mixture, excessive idling, a restricted air filter, weak ignition, or a plug that is too cold for the application. If every plug is sooty, look for a system-wide cause. If only one is black, focus on that cylinder’s injector, coil, wire, or mechanical condition.
Wet, oily deposits can signal oil entering the combustion chamber through worn valve seals, piston rings, or a related engine issue. Replacing the plug may restore a clean spark temporarily, but it will not correct the source of the oil. Fuel-wet plugs often point to a no-spark condition, a leaking injector, or repeated unsuccessful starting attempts.
A white, blistered, or heavily eroded insulator can indicate overheating, a lean condition, detonation, incorrect heat range, or a cooling-system problem. Do not install a hotter or colder plug just to hide the evidence. Use the vehicle manufacturer’s specified plug type and investigate the condition that caused the damage.
Also inspect the porcelain for hairline cracks, the metal shell for damaged threads, and the terminal end for corrosion. Any cracked insulator, melted electrode, broken ground strap, or damaged thread is a replacement decision, not a cleaning decision.
Measure the Electrode Gap
As a plug fires over time, its center and ground electrodes wear away. The gap becomes larger, forcing the ignition system to generate more voltage to jump it. Under light load, the engine may still run smoothly. Under acceleration, towing, or climbing a grade, the spark can fail and create a misfire.
Check the gap with a wire-style or blade-style gap gauge and compare it with the under-hood label or service information for your exact engine. Avoid assuming every engine uses the same specification. Turbocharged engines, performance applications, and different ignition systems can require distinct gaps.
If a conventional nickel plug is slightly out of specification and otherwise healthy, it can sometimes be adjusted carefully by bending only the ground electrode. Never pry against the center electrode or porcelain. Fine-wire platinum and iridium plugs are more delicate. Their tiny center electrodes can be damaged easily, so replacement is usually the better choice when the gap is excessive or the electrode is worn.
Many modern plugs come pre-gapped, but pre-gapped does not mean unchecked. Shipping damage can close the gap, and the correct specification may vary by vehicle application.
Test Spark Plug Resistance With a Multimeter
A multimeter does not prove that a spark plug will fire under cylinder pressure, but it can identify an open internal resistor or an obvious electrical defect. This test is most useful on resistor-type spark plugs, which are common on modern vehicles.
Set the meter to ohms. Touch one probe to the top terminal where the wire or coil boot connects and the other probe to the center electrode at the firing end. Do not measure from the terminal to the ground electrode. The reading should be compared with the plug manufacturer’s specification whenever possible.
Many resistor plugs measure in the thousands of ohms, often roughly 1,000 to 10,000 ohms, but that range is not universal. A reading of OL, infinite resistance, or a value dramatically different from identical plugs may indicate an internal failure. A non-resistor plug may show very low resistance, so do not condemn it simply because it does not match a generic resistor-plug range.
Test each removed plug the same way. Consistency matters. If three plugs have similar readings and one is open or far outside the group, that plug deserves replacement. Keep in mind that a plug with normal resistance can still be worn, fouled, cracked, or unable to fire under load.
Use a Spark Tester for a Real-World Ignition Check
An adjustable spark tester checks whether the ignition system can create enough voltage to jump a controlled air gap. It is more useful than grounding a loose spark plug against the engine, a method that can expose you to high voltage, risk fuel-vapor ignition, and give misleading results.
Install the tester between the ignition coil or plug wire and a good engine ground according to the tool instructions. Set the gap to the tool’s recommended starting point. Disable fuel delivery or follow the vehicle service procedure if you are cranking the engine for an extended period.
Crank the engine and observe the tester from a safe position. A consistent, crisp blue or blue-white spark generally indicates a healthy ignition output. A weak, intermittent orange spark, or no spark, requires more diagnosis. The fault may be the plug, but it can also be a failing coil, plug wire, coil boot, crankshaft position sensor, ignition module, wiring connection, or engine control issue.
On coil-on-plug systems, swap a suspected coil with a coil from another cylinder if the diagnostic process and vehicle design allow it. If the misfire code moves with the coil, the coil is the likely fault. If it stays at the same cylinder after installing a known-good plug and coil, investigate the injector, compression, vacuum leak, or mechanical timing.
Know When Replacement Is the Better Repair
Spark plugs are relatively inexpensive compared with the labor and diagnosis required after a misfire damages a catalytic converter. Replace plugs when electrodes are worn, the porcelain is cracked, deposits are severe, the gap cannot be corrected safely, or they have reached the manufacturer service interval.
Replace plugs as a complete set unless you are diagnosing a single recent failure. A full set gives every cylinder the same heat range, electrode material, and wear baseline. It also makes future inspections more meaningful.
Select the exact plug design specified for the vehicle. Copper, platinum, and iridium plugs have different service lives and performance characteristics. Installing a cheaper plug with a shorter lifespan may make sense on some older engines, but it can be a poor trade on a modern vehicle where plug access requires removing intake components or other hardware.
When installing new plugs, start every plug by hand to prevent cross-threading. Follow the specified torque value, as both overtightening and undertightening can cause trouble. Too much torque can damage threads or distort the plug. Too little can prevent proper heat transfer and allow combustion leakage. Use anti-seize only if the plug maker or vehicle manufacturer specifically recommends it, since many modern plugs have plated threads and torque specifications assume dry installation.
A clean, correctly gapped spark plug is a small part with a large effect on drivability, fuel efficiency, and emissions. Test with a methodical approach, match replacement parts to the vehicle, and treat unusual plug deposits as useful evidence rather than a reason to replace parts blindly. That is the kind of practical precision that keeps every maintenance decision moving in the right direction.