
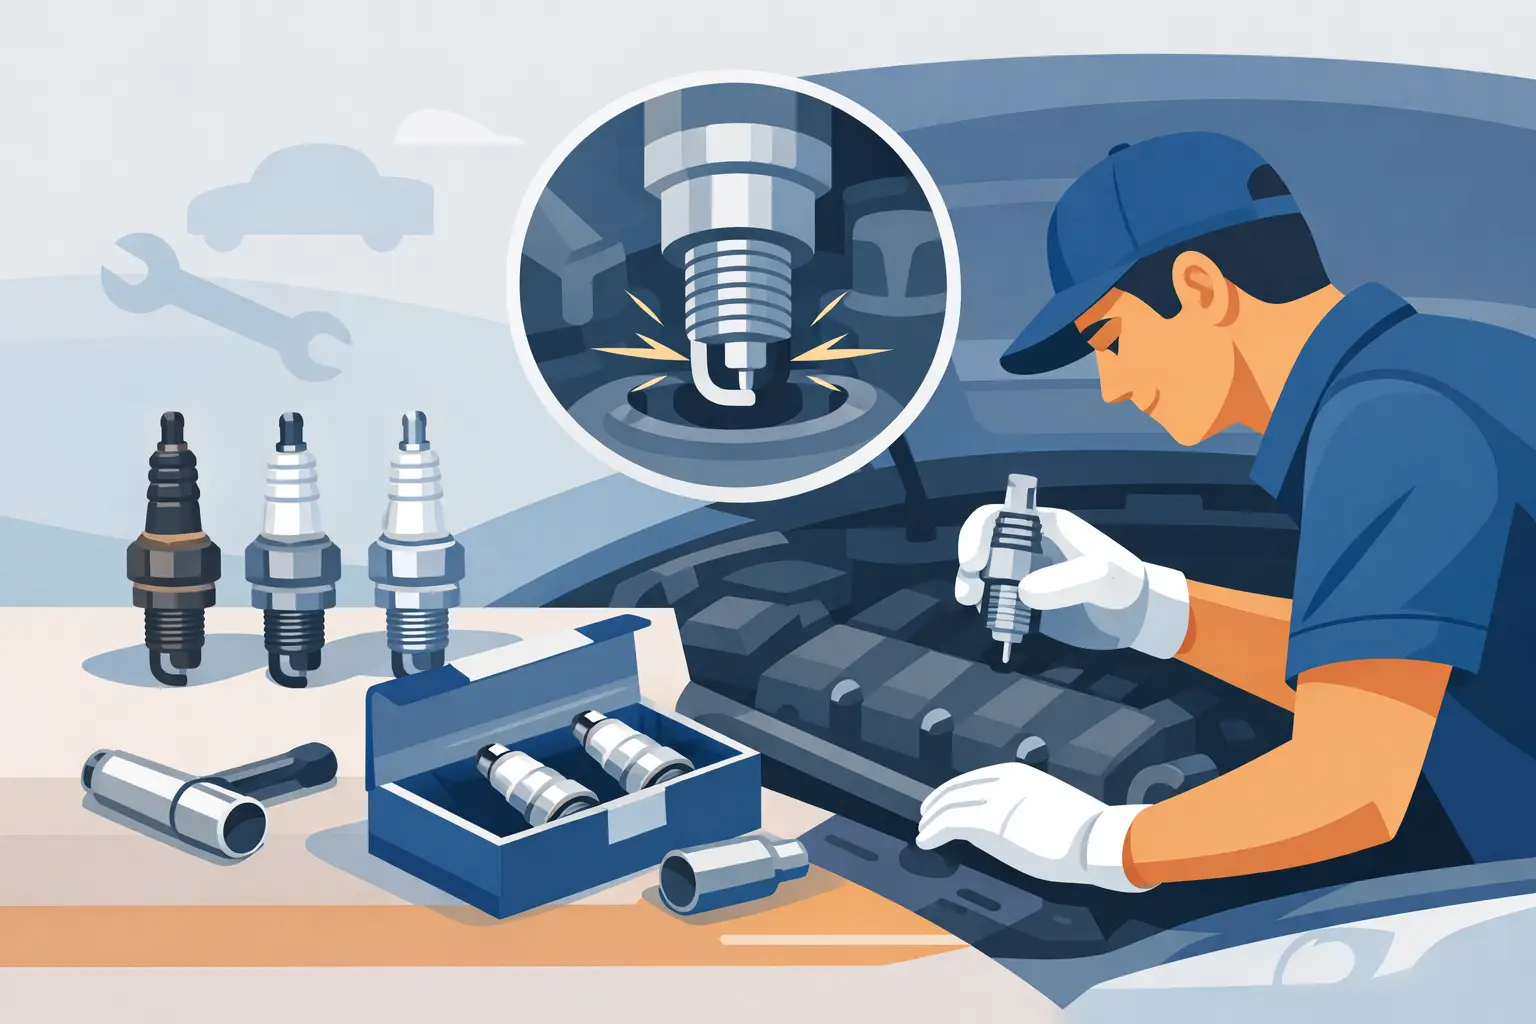
That slight stumble at idle, the slower cold start, the fuel economy that seems a little off – spark plugs are often behind it. A solid spark plug replacement guide helps you fix a small ignition issue before it turns into a bigger drivability problem, especially on higher-mileage cars, trucks, Jeeps, and SUVs.
Spark plugs sit at the center of combustion. They ignite the air-fuel mixture thousands of times per minute, and they do it under serious heat and pressure. When they wear out, the symptoms can be subtle at first. Then come rough starts, misfires under load, weak acceleration, and a check engine light that finally gets your attention.
For many vehicles, replacing spark plugs is a realistic DIY job. For others, especially V6 and V8 engines with tight engine bays, it can be more involved than it looks. The difference comes down to access, the engine design, and whether you approach the job with the right tools and the right expectations.
Why spark plug replacement matters
Fresh plugs do more than restore a smooth idle. They help the ignition system work as designed, reduce strain on ignition coils, and support clean combustion. If a worn plug forces the coil to work harder to jump an oversized gap, you can end up replacing more than just plugs.
This is where maintenance and performance overlap. A properly firing engine feels sharper, responds more cleanly, and runs with the kind of consistency every driver notices. Technology as an art form only works when the fundamentals are right.
Service intervals vary. Some copper plugs may need replacement around 20,000 to 30,000 miles, while platinum and iridium plugs can often go 60,000 to 100,000 miles or more. That said, mileage is only part of the story. Oil consumption, repeated short trips, poor fuel quality, and existing ignition problems can shorten plug life.
Signs you may need new spark plugs
A rough idle is one of the most common clues, but it is not the only one. Hard starting, sluggish throttle response, lower fuel economy, engine hesitation, and random or cylinder-specific misfire codes can all point toward worn or fouled plugs.
There is also some nuance here. Those same symptoms can come from bad coils, vacuum leaks, dirty injectors, or fuel delivery issues. Spark plugs are not always the root cause. But if the plugs are near the end of their service life, they are a smart place to start.
Pulling one plug and inspecting it can tell you a lot. A normal plug usually shows light tan or gray deposits. Heavy black soot may suggest a rich mixture or weak spark. Oily residue may point to oil entering the combustion chamber. A white blistered tip can indicate overheating or an incorrect heat range. In other words, the plug is not just a wear item – it is also a window into engine health.
Spark plug replacement guide: tools and prep
Before you touch the engine, make sure it is completely cool. Removing spark plugs from a hot aluminum cylinder head is a good way to create expensive problems.
You will usually need a spark plug socket, ratchet, extensions, a torque wrench, and possibly a swivel adapter depending on engine layout. A small amount of dielectric grease for the inside of the coil boot is commonly used, though not on the plug threads. Some vehicles also benefit from compressed air so you can clean debris out of the plug wells before removal.
The most important prep step is confirming the exact plug specification for your vehicle. Thread size, reach, seat type, heat range, and gap all matter. Even if two plugs look similar, using the wrong one can affect performance or damage the engine. Always match the plug to the engine application, not just the vehicle model line.
If your engine uses coil-on-plug ignition, each cylinder will typically have its own ignition coil mounted above the spark plug. On older setups, you may have plug wires instead. Either way, label anything you disconnect if there is any chance of mixing it up during reassembly.
How to replace spark plugs without creating new problems
Start by removing any plastic engine covers that block access. Then disconnect the ignition coil connector or remove the plug wire boot carefully. If you are working with wires, twist the boot slightly before pulling. Tugging on the wire itself can damage it.
Once the coil or wire is out of the way, blow out the spark plug well if dirt is present. This step matters more than many people think. You do not want grit falling into the cylinder once the plug is removed.
Use the spark plug socket and loosen the old plug carefully. If it feels unusually tight, slow down. Forced removal can strip threads in the cylinder head. In stubborn cases, patience is cheaper than repairs.
Compare the old plug to the new one before installation. Check length, thread design, and electrode style. If the replacement plug is adjustable and your application calls for checking the gap, use the proper tool and set it to spec. Many modern iridium and platinum plugs come pre-gapped, but that does not mean they should be handled roughly. Fine-wire electrodes are easy to damage.
Thread the new plug in by hand first. This is the safest way to avoid cross-threading. It should turn smoothly for several rotations before you use a ratchet. If it does not, back it out and start again.
Then tighten the plug to the manufacturer torque specification. This is one of the most overlooked parts of any spark plug replacement guide. Too loose, and you risk poor heat transfer, blow-by, or thread damage over time. Too tight, and you can stretch threads, crack the plug, or damage the cylinder head. Torque is not a detail. It is the difference between a clean service job and a comeback.
Apply a small amount of dielectric grease inside the coil boot if recommended, reinstall the coil or wire, reconnect the electrical connector, and move to the next cylinder. Working one cylinder at a time is the safest method because it keeps parts organized and prevents mix-ups.
Common mistakes that cost time and money
The biggest mistake is assuming all spark plugs are basically the same. They are not. Modern engines are sensitive to plug design, and the wrong part can create misfires fast.
The second mistake is skipping torque specs. Hand-tight plus guesswork might work on some jobs, but spark plugs are not the place to improvise.
The third is replacing plugs while ignoring worn ignition coils or brittle plug wires. If a coil boot is torn, oil-soaked, or heavily carbon-tracked, new plugs alone may not solve the issue. Sometimes the smart move is doing plugs and coils together, especially on higher-mileage vehicles where labor overlap makes that more efficient.
Another common error is using anti-seize on plug threads without checking the plug maker’s guidance. Many modern spark plugs have plated threads and do not require it. Adding anti-seize can change torque readings and lead to overtightening.
When spark plug replacement gets more complicated
Inline four-cylinder engines are often straightforward. Transverse V6 engines, turbocharged applications, and some trucks or SUVs with tight firewall clearance are a different story. Intake manifolds, braces, or other components may need to come off just to reach the rear bank.
That does not automatically make the job a bad DIY choice. It just changes the math. If access is poor, broken plastic connectors are likely, or you do not have a torque wrench and enough workspace, paying for labor may be the better move.
There is also the issue of seized plugs on certain older engines. If the vehicle has gone far beyond the recommended interval, plug removal can become risky. In that case, careful technique matters more than speed, and some owners will prefer professional service over gambling with cylinder head threads.
Choosing the right replacement plugs
Material matters, but matching the vehicle matters more. Copper plugs are typically less expensive and perform well in some older applications, though they wear faster. Platinum and iridium plugs usually last longer and are common in newer engines. Long life is a real advantage, especially when access is difficult.
Still, longer life is not the same as universal upgrade. Some engines are calibrated around a specific plug type and design. Use what the application calls for first, then consider premium options only when they align with fitment and spec.
For buyers who care about both reliability and clean fitment, this is where a focused aftermarket source earns its place. You want the right part the first time, not a close-enough option that creates another repair.
After installation: what to check
Once everything is reassembled, start the engine and listen. Idle should be stable, and there should be no flashing check engine light or obvious misfire. If the engine runs worse than before, recheck coil connections, wire routing, and plug torque.
If a check engine light was already present, you may need to clear the code and drive the vehicle to confirm the repair. And if the misfire remains on the same cylinder, the problem may be a coil, injector, compression issue, or something outside the ignition system.
A good spark plug job is not flashy, but you feel it immediately. Cleaner starts, smoother response, and the quiet confidence that the engine is firing the way it should. That is the kind of maintenance that keeps a vehicle ready for the daily commute, the jobsite, or the next long highway run.