
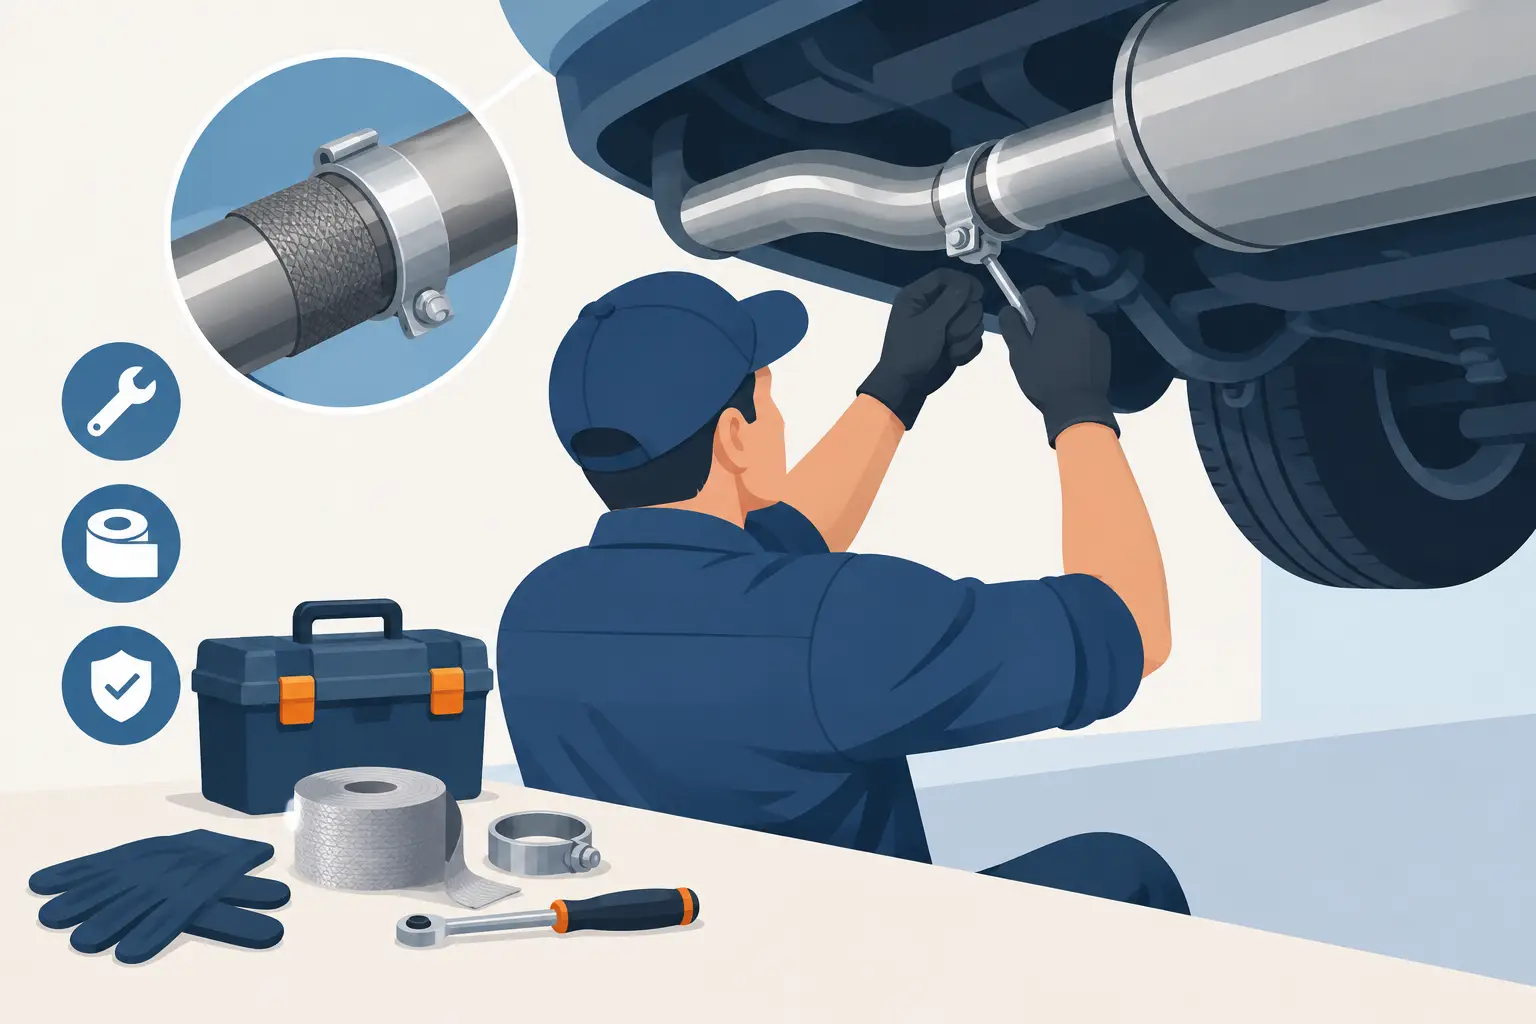
A ticking sound on cold start, a sharp exhaust smell in the cabin, or black soot around a pipe joint is not a cosmetic problem. An exhaust leak can make a daily driver louder, reduce comfort, trigger sensor-related issues, and allow dangerous fumes to enter the passenger area. Knowing how to repair exhaust leaks starts with one rule: find the exact leak before buying parts or applying a patch.
Exhaust systems move constantly with heat, engine torque, and road vibration. A repair that looks quick can fail quickly if the pipe is rusted beyond the joint, the flange is warped, or the system is hanging under tension. The right fix matches the location and condition of the damage.
How to Repair Exhaust Leaks: Start With the Source
Work only on a completely cool exhaust system. Park on level ground, set the parking brake, and support the vehicle with properly rated jack stands if access underneath is necessary. Never rely on a jack alone. Exhaust components can stay hot long after the engine is switched off, and corrosion can leave sharp edges around a failed pipe.
Begin with a visual inspection from the exhaust manifold area to the tailpipe. Look for dry black soot, cracked welds, missing hardware, separated slip joints, loose hangers, and flaky rust. Soot is one of the best clues because exhaust gas leaves a dark trail at the point where it escapes.
Then start the engine outdoors and listen. A manifold or flange leak often produces a ticking or tapping sound that is loudest during a cold start. A leak farther back may sound more like a puff, hiss, or low-frequency rumble. Keep hands, clothing, and tools away from belts, fans, and hot components. Instead of touching the system, use a length of hose as a listening tube near suspected joints, keeping your face clear of moving parts.
If the leak is difficult to locate, a low-pressure smoke test is more precise than guessing. Smoke introduced through the tailpipe can reveal pinholes, flange failures, and cracked seams. Do not use excessive air pressure. Exhaust systems are designed to flow gas, not to be pressure-tested like a tire.
Check the repair area before choosing a part
A leak at a clamp or gasket may need only new hardware and correct alignment. A pipe that is thin, deeply pitted, or broken around the connection needs more than a clamp. Tightening a new clamp over rotten metal can temporarily quiet the system, but it rarely creates a durable seal.
Also inspect the rubber hangers. When a hanger is torn or stretched, the exhaust can sag and put side load on flanges, flex pipes, and slip joints. Replacing the failed hanger can be the difference between a repair that lasts and one that cracks again after a few weeks.
Match the Repair to the Leak Location
The best repair depends on where the system is leaking. Heat, movement, access, and emissions equipment all matter.
Manifold, header, and front-pipe flange leaks
Leaks near the engine deserve extra attention. The exhaust manifold, header collector, and front-pipe flange experience extreme heat cycles. Common causes include a failed gasket, loose or broken studs, warped mating surfaces, and a cracked manifold.
Remove the fasteners carefully. Penetrating oil and patience are better than forcing a rusted stud until it snaps. Once apart, clean both sealing surfaces without gouging them. Install the correct gasket, inspect the flange for flatness, and tighten fasteners evenly to the vehicle manufacturer’s specification. If a manifold is cracked or warped, replacement is usually more reliable than trying to seal it with paste.
A front leak can also affect oxygen-sensor readings, particularly when it is upstream of a sensor. That can contribute to a check engine light, poor fuel control, or inconsistent performance. Do not ignore a leak simply because the vehicle still runs normally.
Flex-pipe leaks
A flex pipe absorbs engine movement. Its braided outer layer can hide a split inner liner, so inspect it closely for soot and noise. Exhaust tape and putty do not hold up well on a flex section because the component is designed to move.
The durable repair is replacement of the flex section or the affected front pipe assembly. A properly sized replacement must preserve clearance, routing, and sensor locations. If welding is used, make sure the surrounding pipe has enough solid metal to support a weld.
Slip-joint and clamp leaks
Many aftermarket exhaust sections join with a slip fit and clamp. These leaks are commonly caused by a loose clamp, mismatched pipe diameters, an uneven cut, or a pipe that was not fully seated.
Separate the joint and inspect both pipe ends. Remove scale and old sealant, then dry-fit the parts so they sit square and fully engaged. Use the correct clamp style for the joint. A band clamp provides even coverage and a clean serviceable connection when the pipes are in good condition, while a butt-joint clamp is designed for two same-diameter pipes meeting end to end.
Exhaust assembly paste can help fill minor surface imperfections, but it should support a properly fitted mechanical joint rather than replace one. Position the clamp over the overlap or joint area, tighten it evenly, and recheck it after a few heat cycles. Over-tightening can distort thin tubing and create another leak path.
Pinholes, cracks, and rusted pipe sections
Small holes in an otherwise solid pipe may be repairable with a welded patch or a cut-and-clamp repair section. The key question is whether the metal around the hole is still sound. If scraping the area reveals more weak spots, replace a larger section rather than chasing corrosion one patch at a time.
For DIY repairs without welding, cut out the damaged area with a tubing cutter or reciprocating saw, then install a correctly sized replacement pipe and clamps. Measure the outside diameter of the existing pipe before ordering components. Nominal pipe size and actual outside diameter are not always described the same way, and a near-match is not a seal.
Stainless steel exhaust components generally offer better corrosion resistance than aluminized steel, especially for vehicles driven through wet winters or salted roads. Material selection is not just about appearance. It affects service life, fitment options, and how the finished system holds up underneath a truck, Jeep, SUV, or daily-driven car.
Muffler, resonator, and tailpipe leaks
Rear-system leaks are usually easier to access, but they still need a secure repair. A split muffler seam, broken inlet neck, or rusted tailpipe can often be replaced section by section. Verify that the replacement part has enough clearance around the bumper, suspension, spare tire, and trailer equipment.
This is also a good time to inspect the exhaust tip and outlet alignment. A properly fitted stainless steel or carbon fiber tip can complete the look of an exhaust upgrade, but it must not hide a loose pipe or contact bodywork. Function comes first. The finished appearance follows from correct fitment.
When a Temporary Exhaust Repair Makes Sense
A clamp-on sleeve, exhaust patch, or high-temperature repair material can be useful when you need to reduce noise and make the vehicle mobile until proper parts arrive. It is not the preferred answer for a cracked manifold, a damaged catalytic converter shell, a failed flex pipe, or widespread corrosion.
Treat temporary repairs honestly. They can be practical for a small hole in solid tubing away from emissions components, but heat cycles and vibration will test every shortcut. If the repair is near the engine, near a catalytic converter, or close enough to allow fumes into the cabin, schedule a permanent repair immediately.
Recheck the System After Installation
Once the repair is complete, start the vehicle outdoors and listen again. Check every nearby hanger and connection for movement. A repaired section should not rattle against a crossmember, heat shield, axle, or body panel when the engine is revved lightly.
After the first drive and full cool-down, inspect the repaired area for soot. Retorque accessible clamps if the manufacturer calls for it. A clean, dry joint after several heat cycles is a better sign than a quiet system for five minutes in the driveway.
FORTLUFT customers replacing exhaust sections should prioritize correct diameter, vehicle application, material, and connection style before choosing finish details. The right pipe or clamp should install with controlled alignment, not force.
An exhaust repair is finished when the system is sealed, supported, and clear of surrounding components. Take the extra minute to verify all three. That is what keeps a clean repair quiet, durable, and worthy of the vehicle it is under.